
If you’ve ever neglected your sourdough starter for an extended period, only to find it languishing in the back of the fridge, fret not! We’ve all been there. The good news is that reviving your sourdough starter and turning it into a healthy and active one is entirely possible. In this comprehensive guide, we’ll walk you through the best steps to bring your old starter back to life, even if it’s been sitting idle for months. So, let’s get started!
Discloser Note:
This post may contain affiliate links, which means I make a small commission at no extra cost to you. See my full disclosure here.
Table Of Contents
The Best Way to Bring Your Old Sourdough Starter Back to Life
Before we dive into the revival process, take a moment to inspect your old sourdough starter. If there’s any visible mold or strange discoloration, it’s best to discard it immediately and start fresh with a new starter. However, if there’s no visible mold, proceed to the next step.
Preparation
To begin, gather all the necessary equipment: a clean jar or glass container, wholegrain flour (such as rye or whole wheat), bread flour, warm water (preferably spring water), a digital scale for precise measurements, and plastic wrap. If you typically feed your starter with all purpose flour then you can use that instead.
First Feeding
Take a small portion of your old sourdough starter, approximately 30 grams, and place it in a clean bowl. Add an equal part, 30 grams, of wholegrain flour and the same amount of warm water. Mix everything thoroughly until you obtain a smooth consistency.
Regular Feedings
Now that you’ve created a new starter, the key to reviving it lies in regular feedings. Over the next few days, continue feeding your starter every 24 hours, maintaining the 1:1:1 feeding ratio. In simple terms, for each feeding, use equal parts of the existing starter, flour, and water.
Observation
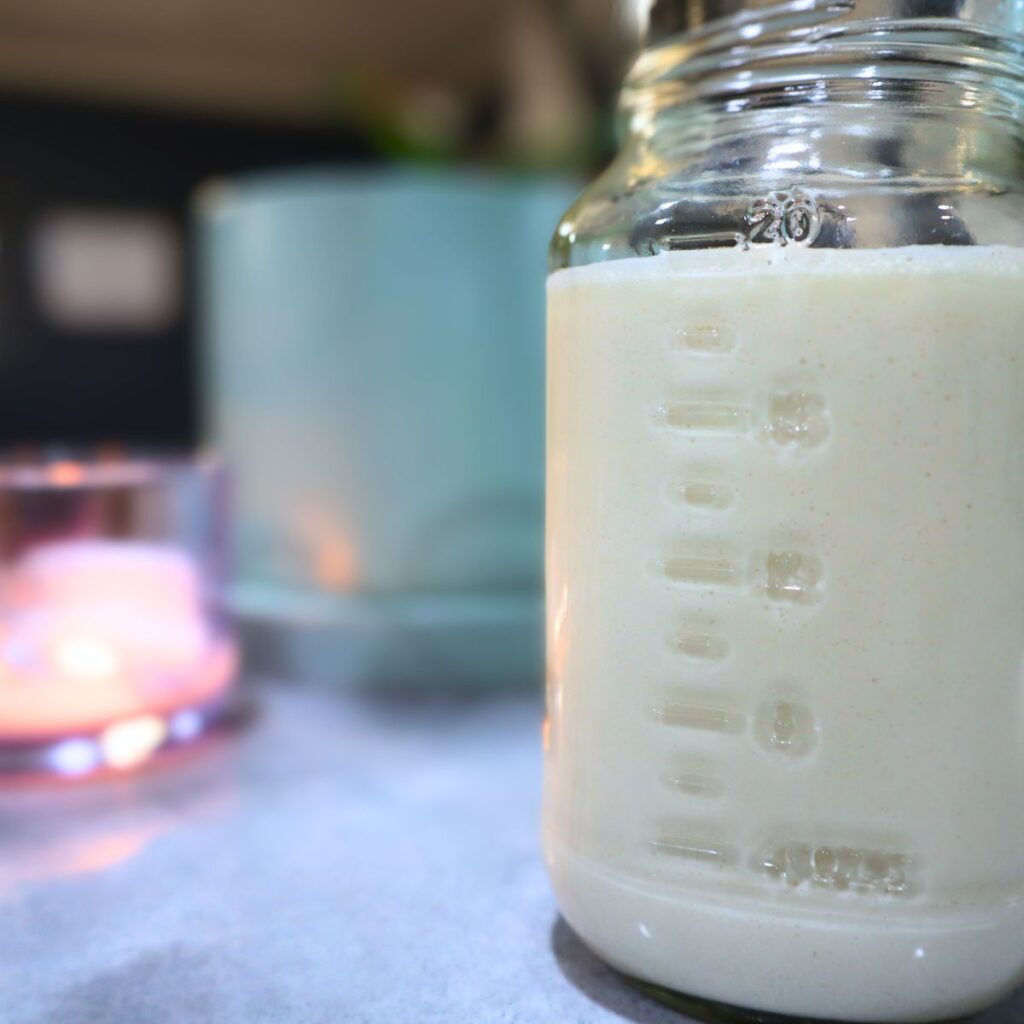
As you continue with the regular feedings, observe your sourdough starter closely. You should start noticing bubbles forming on the surface and around the sides of the jar. This is a positive sign that wild yeasts and lactic acid bacteria are reactivating during the fermentation process.
The Layer of Hooch
During the reviving process, you might notice a layer of liquid on top of the starter, called “hooch.” While it may look concerning, don’t worry. This is a natural occurrence, indicating that your starter is hungry and in need of feeding. Simply stir the hooch back into the starter before the next feeding.
Discard and Feed
As your starter becomes more active, you’ll need to adjust the feeding amount. Discard a portion of the starter (known as sourdough discard) before each feeding and then proceed to feed the remaining starter with equal parts of flour and water. This will help maintain a healthy starter without ending up with too much starter in the jar.
Switch to Bread Flour
After a few days of regular feedings, you can now switch to using bread flour instead of wholegrain flour. The gluten in bread flour will give your starter the strength it needs to help your bread rise.
This is an optional step but it can be helpful for sourdough starters that were neglected for a very long time. If it has been months since you last fed your starter then you may want to consider using bread flour for a short time.
Timing
Depending on the initial health of your old starter and the ambient room temperature, the revival process can take anywhere from a few days to a week or more. Be patient and allow the natural fermentation process to work its magic.
The Best Feeding Schedule
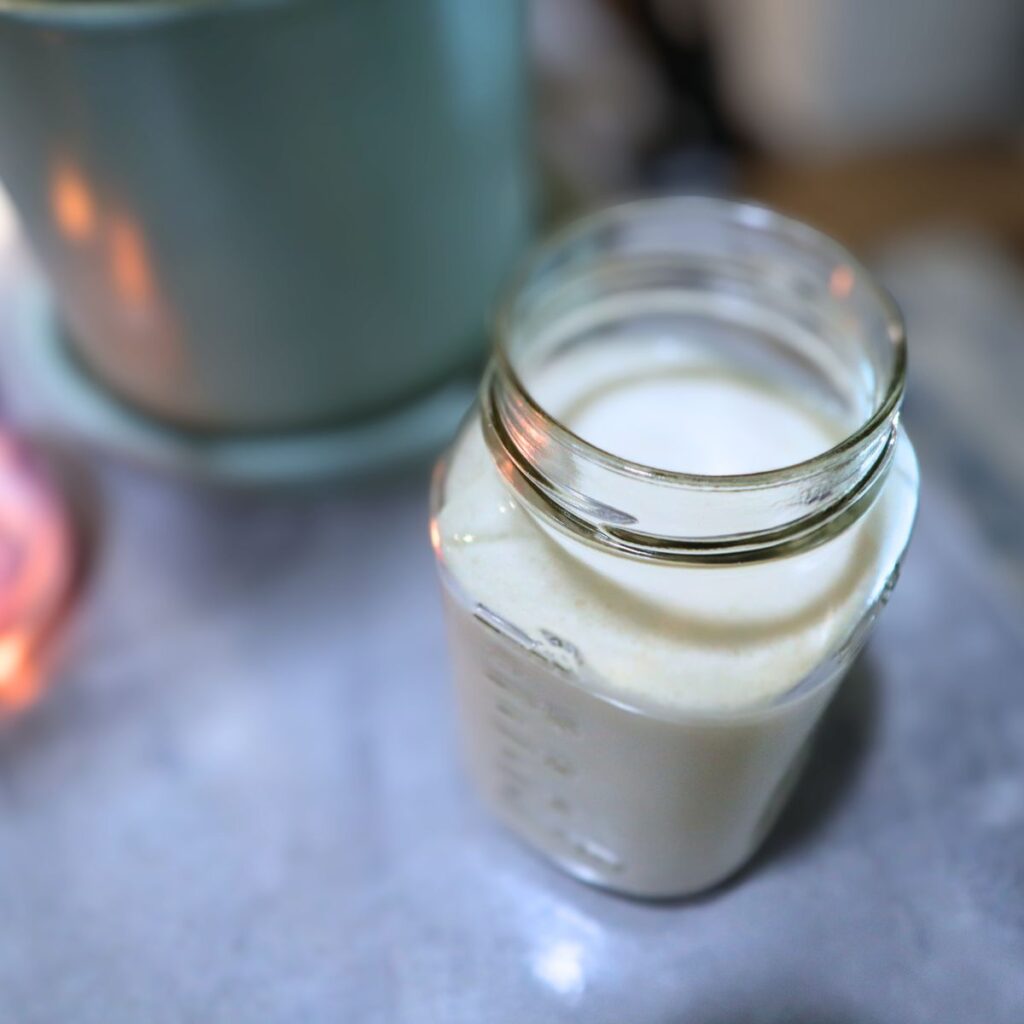
Once your sourdough starter is consistently doubling in volume between feedings and showing robust activity, you can switch to a more manageable feeding schedule. Feeding your starter every 12 hours will keep it happy and active for your baking adventures.
To maintain a healthy and active sourdough starter you will want to feed it every 12 hours if stored at room temperature and at least once a week if stored in the fridge.
Store and Maintain
Now that your sourdough starter is back to life, you might not want to bake with it immediately. If that’s the case, reduce the feeding frequency and store it in the fridge. Remember to feed your starter at least once a week to keep it healthy and thriving.
Reviving Your Sourdough Starter From The Fridge
Reviving an old sourdough starter might seem daunting, but with a little time, attention, and patience, you can bring it back to life and turn it into a reliable and healthy sourdough starter. Remember, sourdough baking is both an art and a science, so don’t be discouraged by the occasional mishaps or learning curves.

My Favorite Sourdough Recipes
EASY SOURDOUGH BREAD RECIPE (PERFECT FOR BEGINNERS)
SIMPLE SOURDOUGH PIZZA CRUST RECIPE (NO YEAST!)
HOMEMADE SOURDOUGH BREAD BOWL RECIPE
HOW TO BAKE SOURDOUGH BREAD WITHOUT A DUTCH OVEN
Can I use all-purpose flour instead of wholegrain flour for the revival process?
Yes, you can absolutely use all-purpose flour instead of wholegrain flour for the revival process of your sourdough starter. While wholegrain flours, such as rye or whole wheat, can provide additional nutrients and microorganisms that may be beneficial during the early stages of revival, all-purpose flour works perfectly fine as well.
All-purpose flour is more commonly available and is a popular choice for feeding sourdough starters. It contains enough carbohydrates for the yeast and bacteria in the starter to feed on and will support the fermentation process required to revive your sourdough starter.
So, if you typically feed your starter with all-purpose flour or that’s what you have readily available, feel free to use it for the revival process. The key is to keep up with regular feedings and create a favorable environment for the yeast and bacteria to thrive, regardless of the type of flour you use.
Can I revive a dried sourdough starter, or is this guide only for refrigerated starters?
Yes, you can revive a dried sourdough starter using a similar process, although the approach might be slightly different from reviving a refrigerated starter. The guide provided earlier primarily focused on reviving refrigerated or neglected sourdough starters, but the principles of reviving a dried starter are similar.
If you have a dried sourdough starter, it means that the starter has been dehydrated to preserve it for longer-term storage. To revive a dried sourdough starter, you’ll need to rehydrate it first before following the regular feeding process.
Here’s a general outline of how to revive a dried sourdough starter:
- Rehydrate the Dried Starter: Take a small portion (usually a few grams) of the dried sourdough starter and place it in a clean bowl. Add a small amount of warm water (about 2-3 times the weight of the dried starter) and stir until it forms a paste-like consistency. Cover the bowl and let it sit at room temperature for several hours or overnight to rehydrate.
- Create a New Starter: After the dried starter has been rehydrated and shows signs of activity (bubbles and some rise), proceed to create a new starter by following the first feeding steps mentioned in the guide. Mix a small portion of the rehydrated starter with equal parts of flour and water (by weight) to create a new starter.
- Regular Feedings: Just like with refrigerated starters, the key to reviving a dried starter is to continue with regular feedings every 24 hours, maintaining a 1:1:1 feeding ratio of existing starter, flour, and water.
- Observation: Watch for signs of activity in the rehydrated and newly created starter, such as bubbles forming and rising volume. This indicates that the wild yeasts and bacteria are reactivating.
How can I tell if my sourdough starter is weak or strong after the revival process?
After the revival process, there are several signs you can look for to determine if your sourdough starter is weak or strong. Here are some indicators to help you assess the vitality of your revived sourdough starter:
- Rising Power: A strong sourdough starter should have good rising power. When you feed your starter, observe how much it rises between feedings. A strong starter will double or even triple in volume within a reasonable time frame, typically 6 to 8 hours after feeding.
- Bubbling Activity: Active fermentation is a key characteristic of a strong sourdough starter. Look for active bubbling on the surface and throughout the starter. Bubbles are an indication that the wild yeasts and lactic acid bacteria are actively producing carbon dioxide, which helps with the leavening of your bread.
- Aroma: A healthy sourdough starter will have a pleasant and slightly sour aroma. It may have a fruity or tangy scent. If your starter has a strong unpleasant odor, like a nail polish remover smell, it may indicate an imbalance in the microbial composition or an overgrowth of certain bacteria.
- Consistency: A strong sourdough starter should have a consistent and stable consistency. It should be thick and elastic, holding its shape well when stirred or stretched. A weak starter may appear runny or watery, lacking structure and unable to hold bubbles.
- Tripled Volume: When you feed your starter, observe how much it triples in volume at its peak. A strong starter will consistently reach its peak volume and maintain that level for a significant period of time, usually a couple of hours or more, before starting to recede.
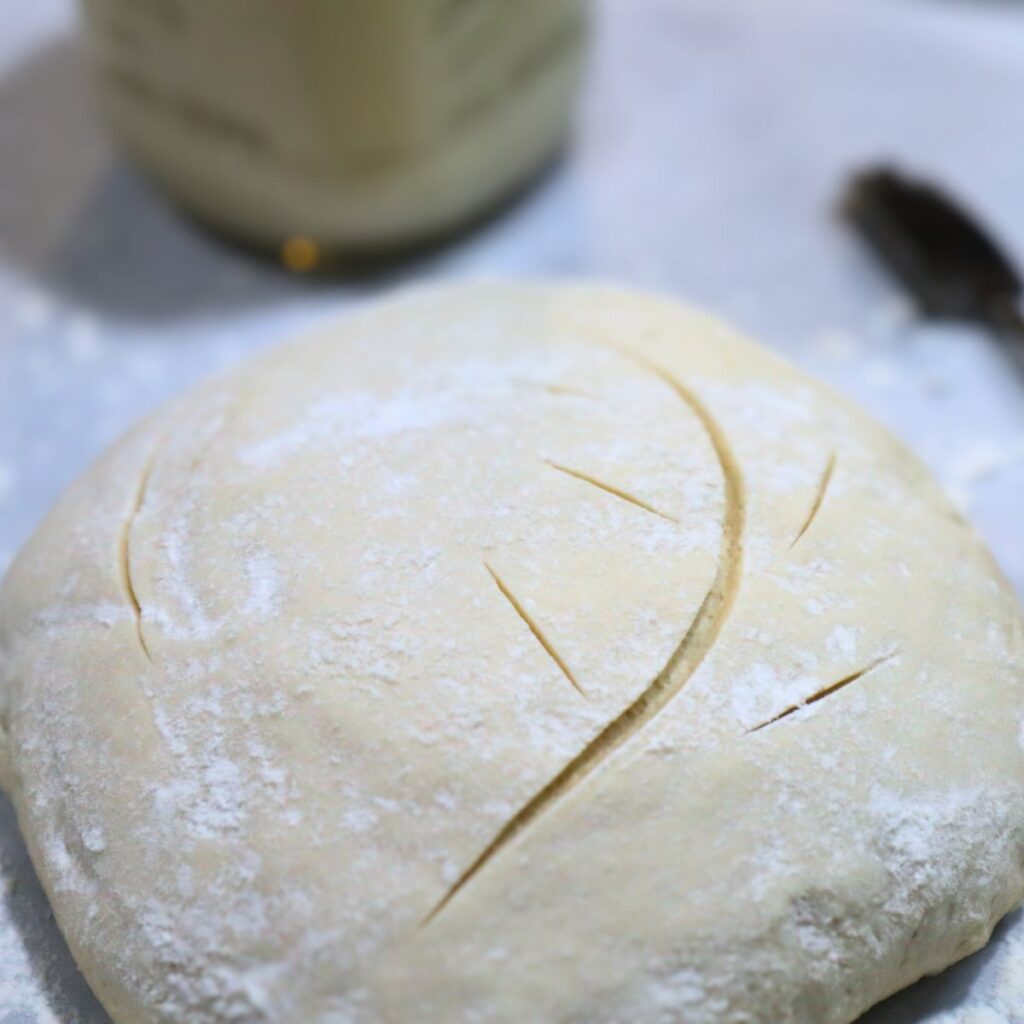
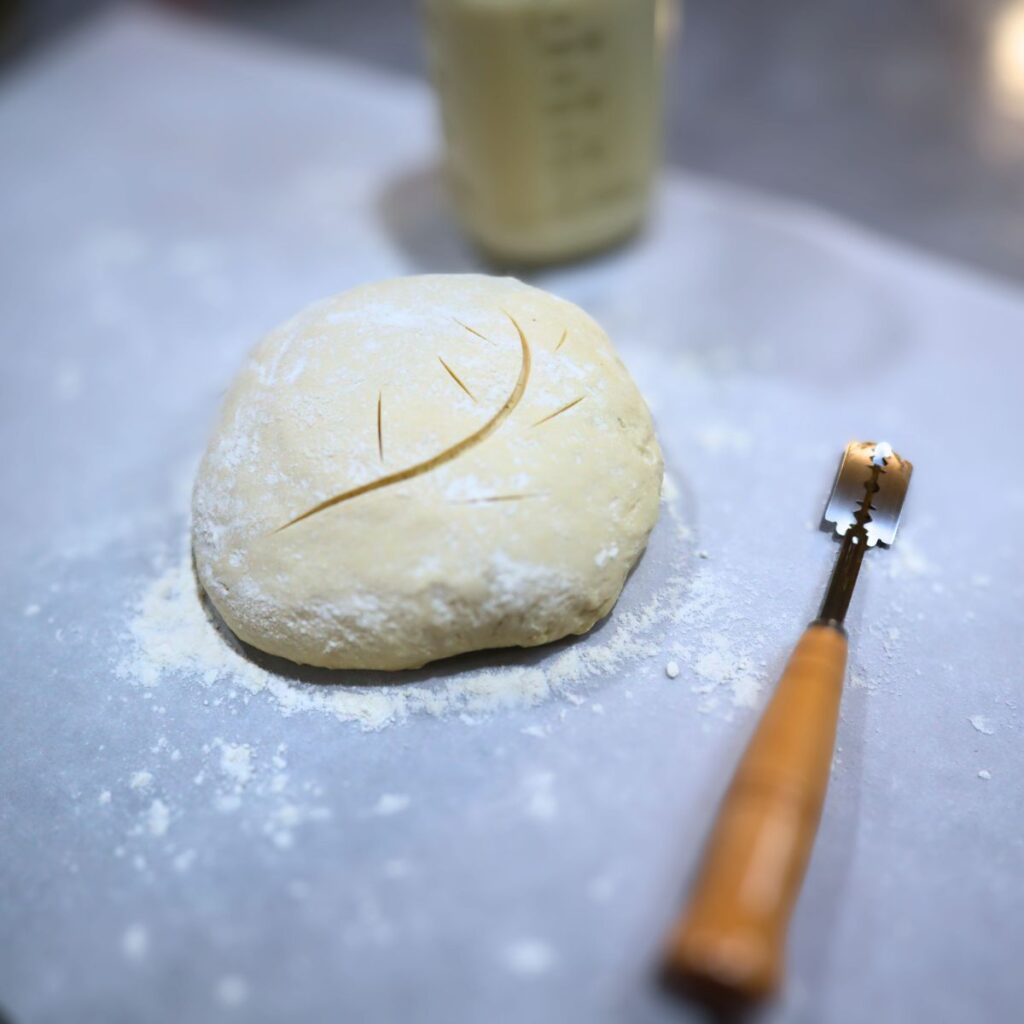
- Bread Rise: The ultimate test of a strong sourdough starter is how well it leavens your bread. If your revived starter consistently produces loaves of bread with good oven spring and a well-developed crumb, it’s a strong indication that your starter is in a healthy and robust state.
Keep in mind that the strength of your sourdough starter may vary depending on factors such as hydration level, feeding schedule, room temperature, and the specific strains of wild yeasts and bacteria present in your starter. It’s also worth noting that the strength of a sourdough starter can improve over time with regular feedings and proper maintenance.
Leave a Reply