
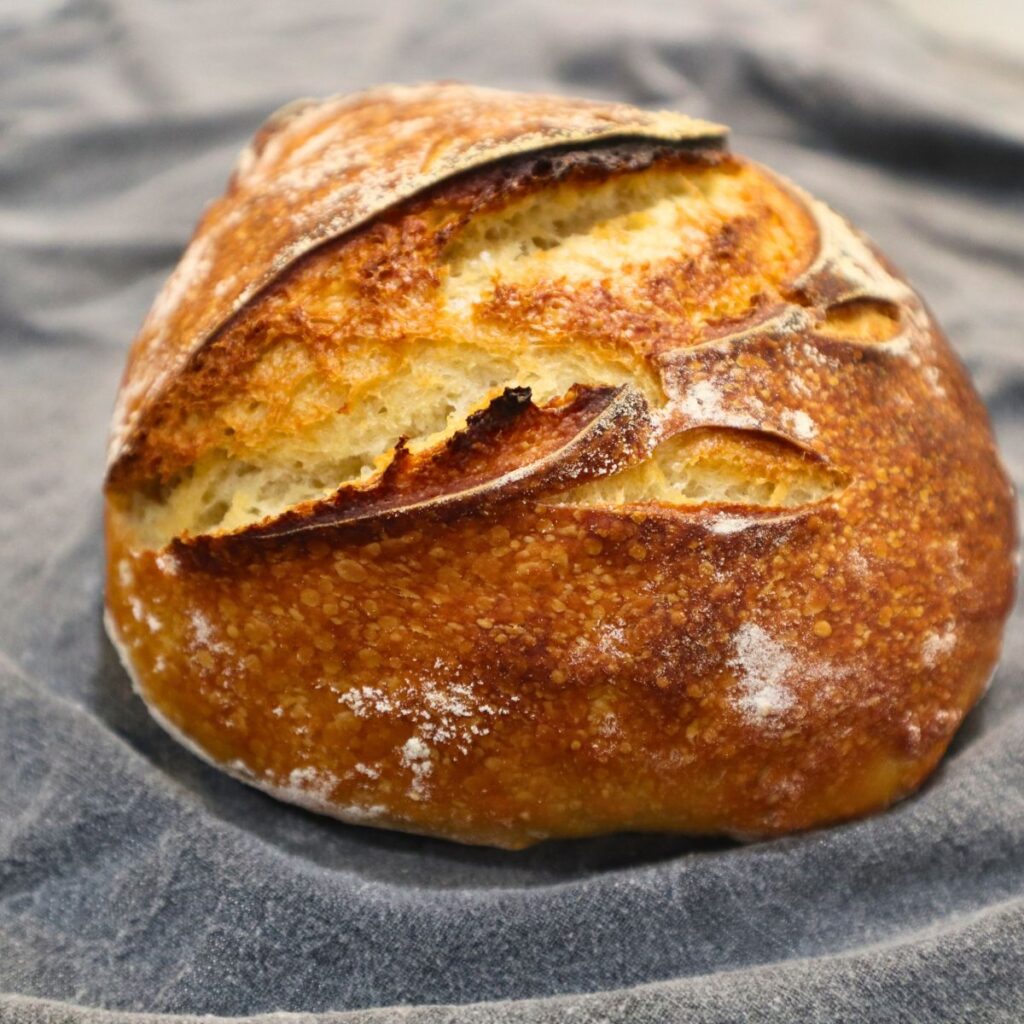
If you’ve been looking for an easy sourdough bread recipe that requires minimal effort and produces a perfect loaf of bread, then you’ve come to the right place. In this post, I’ll be sharing step-by-step instructions on how to knead sourdough bread using a basic recipe that uses only a few simple ingredients.
What Is The Secret To Good Sourdough Bread?
The secret is in using an active starter and making sure you bake the bread in a moist environment. You can do this by using a dutch oven or following this guide to baking sourdough without a dutch oven.
Sourdough bread is made using wild yeasts instead of commercial yeast. These wild yeasts are naturally present in the flour and the air around us. To make sourdough bread, you’ll need an active sourdough starter. If you don’t have one, you can follow this step-by-step guide to creating your own sourdough starter.
For this recipe you’ll need:
- 5 cups of all-purpose flour
- 1.5 cups of water
- 1 cup of active sourdough starter
- 1 tablespoon of sugar
- 2 teaspoons of salt (I use redmonds real salt)
You can use bread flour or even whole wheat flour for this recipe, but all-purpose flour works just fine.
To begin, mix the flour, sugar, and salt in a large mixing bowl. Add the active starter and water, and use a wooden spoon or a dough hook attachment on a stand mixer to mix everything together until a wet dough forms. Personally, I prefer to use a wooden spoon to start mixing and once the dough has started to come together I start using my hands.
Should You Knead Sourdough Bread?
Yes. You will need to strengthen the gluten in the bread either by kneading by hand or by using a stand mixer. If you prefer not to knead your bread you can also perform a stretch and fold on the dough multiple times over the course of the day.
Kneading Your Sourdough Bread
Wet your hands with warm water, and knead the dough on a lightly floured work surface for 15-20 minutes, until it becomes smooth and elastic. You can use a dough scraper to help you gather the dough and fold it over onto itself, which helps develop gluten and surface tension in the dough.
Gluten is what gives your bread texture so it is important not to skip this step.
Once the dough is smooth and elastic, transfer it back to the large mixing bowl, cover it with plastic wrap or a damp tea towel, and let it rest for an hour at room temperature. After an hour, perform a stretch and fold. Wet your hands again, and gently stretch the dough out and fold it over onto itself, rotating the bowl each time you fold. This helps redistribute the yeast and gases in the dough and also helps develop the gluten.
Allow the dough to rest in the bowl for at least one hour but up to four hours for bulk fermentation. If you want to let your dough bulk ferment for longer than an hour you will need to perform additional stretch and folds every hour.
What Is Bulk Fermentation?
Bulk fermentation is an essential step in sourdough bread making, where the dough is left to ferment at room temperature for several hours. During this time, the wild yeasts and lactobacilli present in the sourdough starter consume the sugars in the flour and produce carbon dioxide gas, which causes the dough to rise.
The bulk fermentation stage can last anywhere from 4 to 12 hours, depending on the recipe and the desired flavor and texture of the bread. It’s important to keep an eye on the dough during this time and perform stretch and folds periodically to strengthen the gluten network and improve the crumb structure.
Shaping Your Sourdough Bread
After the bulk fermentation, transfer the dough to your floured surface using a bench scraper, divide the dough in half, and shape each half into a round ball. Place the dough into a proofing basket or a batton basket lined with a tea towel that has been dusted with flour Cover the basket with plastic wrap, and place it in the fridge overnight.
The next morning, preheat your oven to 500 degrees Fahrenheit. Place a 5-quart Dutch oven in the oven to preheat as well. If you are baking both loaves of sourdough at the same time you can use two dutch ovens together. If you only have one dutch oven you can also bake the bread in batches. This is entirely up to you and what works best in your kitchen.
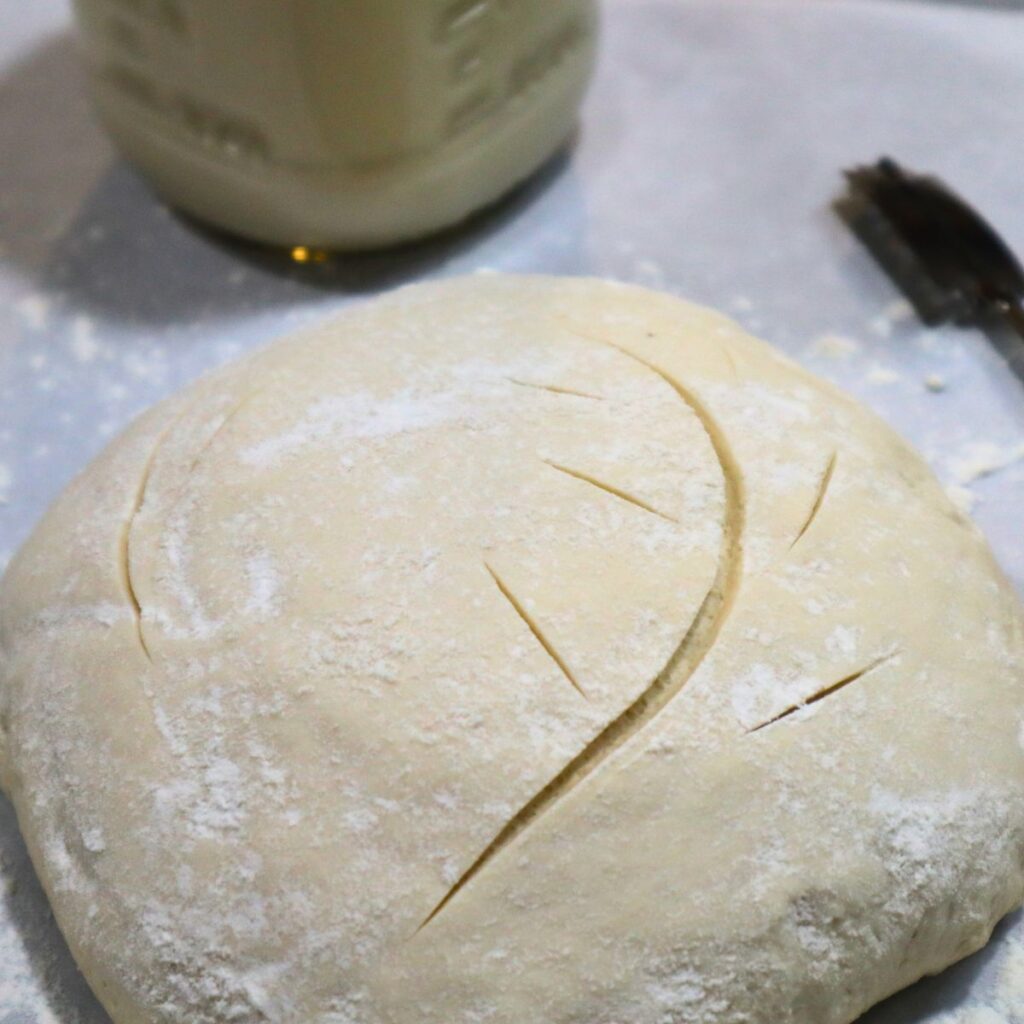
Remove the dough from the fridge and place a piece of parchment paper over the top of the dough. Flip the dough and parchment paper over, and gently place the dough into the hot Dutch oven. Score the top of the dough with a razor blade to allow for oven spring, and cover the Dutch oven with the lid.
Bake the bread at 500 degrees Fahrenheit for 20 minutes. After 20 minutes, lower the oven temperature to 450 degrees Fahrenheit and bake for an additional 20 minutes. Remove the lid from the Dutch oven, and bake for an additional 10 minutes to allow for a crispy crust.
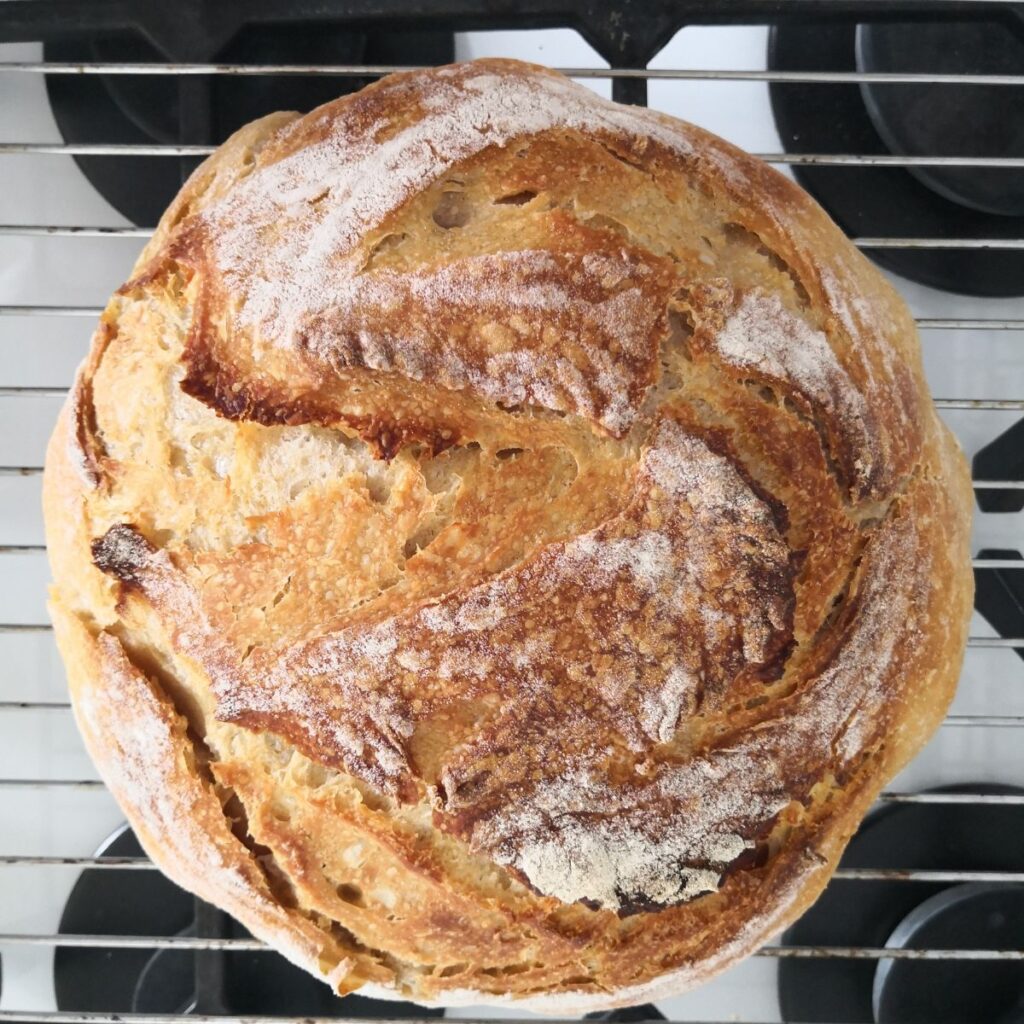
Once the bread is done baking, remove it from the Dutch oven and place it on a wire rack to cool. Check the internal temperature of the bread with a digital thermometer to ensure it has reached 200-210 degrees Fahrenheit. Allow the bread to cool completely before slicing into it.

Frequently Asked Questions About Sourdough Bread
Can I Make Sourdough Bread Without A Dutch Oven?
Yes! I have a blog post that teaches you how to make sourdough bread without a dutch oven. You can use this same exact recipe but with a baking tray instead of a dutch oven.
Why Is My Sourdough Still Sticky After Kneading?
It could be that you have too much water in your sourdough. If this happens try to add more flour a little bit at a time until the dough is a workable consistency.
How Do You Know When To Stop Kneading Sourdough?
When kneading sourdough bread, it’s important to watch for the dough to reach a certain level of development, rather than focusing on a specific amount of time. A good indicator that the dough is properly kneaded is when it passes the windowpane test, where a small piece of dough can be stretched thin enough to see light through it without tearing. Additionally, the dough should feel smooth and elastic, and not stick to your hands or the work surface.
Why Do You Put Sourdough In The Fridge Overnight?
Sourdough bread sits in the fridge to undergo a process known as retarding, which slows down the fermentation process and allows the dough to develop a more complex flavor and texture. By retarding the dough overnight, the flavors have a chance to meld and the dough can also develop a crispier crust during baking. Additionally, the cold temperature of the fridge makes it easier to handle the dough when it’s time to shape and score the loaves.
Easy Sourdough Bread Recipe
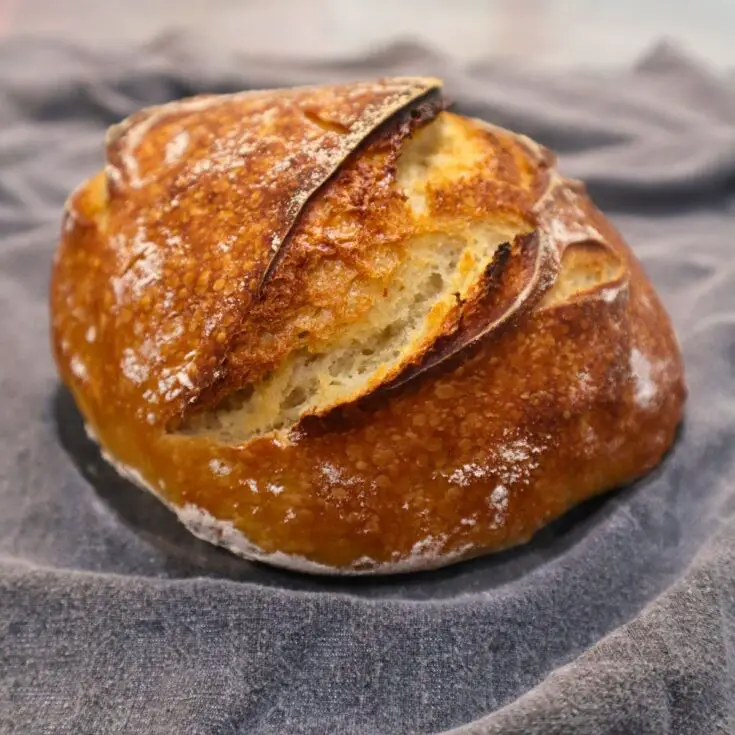
Delicious and easy to make sourdough bread recipe.
Ingredients
- 5 cups of all-purpose flour
- 1.5 cups of water
- 1 cup of active sourdough starter
- 1 tablespoon of sugar
- 2 teaspoons of salt
Instructions
1. Mix the flour, sugar, and salt in a large mixing bowl
2. Add the active starter and water, and use a wooden spoon to mix everything together until a wet dough forms
3. Wet your hands with warm water, and knead the dough on a lightly floured work surface for 15-20 minutes, until it becomes smooth and elastic
4. Once the dough is smooth and elastic, transfer it back to the large mixing bowl, cover it with plastic wrap or a damp tea towel, and let it rest for an hour at room temperature.
5. After an hour, perform a stretch and fold. Wet your hands again, and gently stretch the dough out and fold it over onto itself, rotating the bowl each time you fold.
6. Allow the dough to rest in the bowl for at least one hour but up to four hours for bulk fermentation. If you want to let your dough bulk ferment for longer than an hour you will need to perform additional stretch and folds every hour.
7. Transfer the dough to your floured surface using a bench scraper, divide the dough in half, and shape each half into a round ball. Place the dough into a proofing basket or a batton basket lined with a tea towel that has been dusted with flour Cover the basket with plastic wrap, and place it in the fridge overnight.
8. The next morning, preheat your oven to 500 degrees Fahrenheit. Place a 5-quart Dutch oven in the oven to preheat as well. If you are baking both loaves of sourdough at the same time you can use two dutch ovens together. If you only have one dutch oven you can also bake the bread in batches.
9. Remove the dough from the fridge and place a piece of parchment paper over the top of the dough. Flip the dough and parchment paper over, and gently place the dough into the hot Dutch oven. Score the top of the dough with a razor blade to allow for oven spring, and cover the Dutch oven with the lid.
10. Bake the bread at 500 degrees Fahrenheit for 20 minutes. After 20 minutes, lower the oven temperature to 450 degrees Fahrenheit and bake for an additional 20 minutes. Remove the lid from the Dutch oven, and bake for an additional 10 minutes to allow for a crispy crust.
11. Once the bread is done baking, remove it from the Dutch oven and place it on a wire rack to cool. Check the internal temperature of the bread with a digital thermometer to ensure it has reached 200-210 degrees Fahrenheit. Allow the bread to cool completely before slicing into it.
Notes
A good indicator that the dough is properly kneaded is when it passes the windowpane test, where a small piece of dough can be stretched thin enough to see light through it without tearing. Additionally, the dough should feel smooth and elastic, and not stick to your hands or the work surface.
Leave a Reply