
If you’ve ever tasted a slice of delicious sourdough bread, you know there’s nothing quite like it. The unique flavor and texture of sourdough bread come from natural leavening agents, wild yeast, and lactic acid bacteria. And the best way to get that distinctive flavor and texture is by using your own sourdough starter.
Creating and maintaining a healthy sourdough starter is a simple process, but it does require regular feedings and care. In this post, we’ll cover everything you need to know about feeding, maintaining, and storing your sourdough starter, so you can make fresh bread any time you want.
How To Make Your Own Sourdough Starter
Ingredients:
- 200 grams all-purpose flour
- 200 grams filtered water
Instructions:
Day 1:
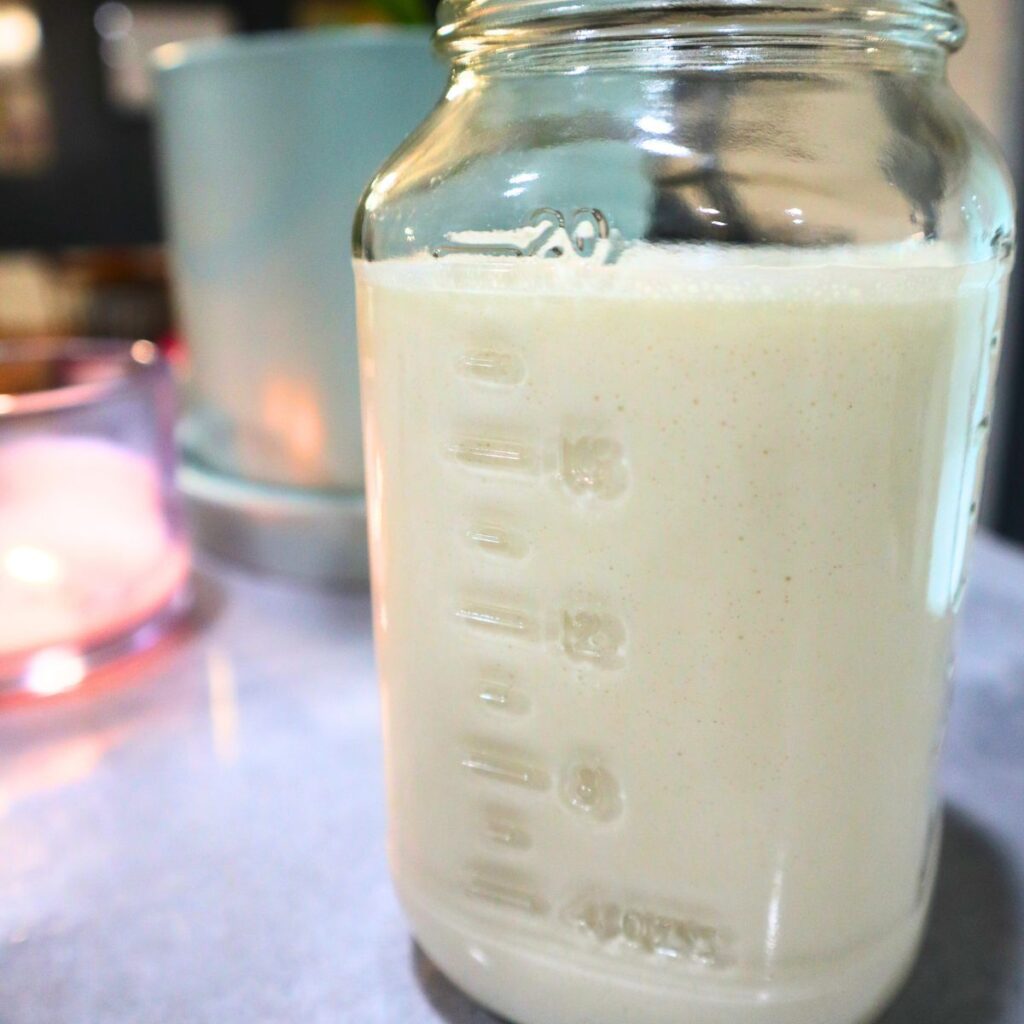
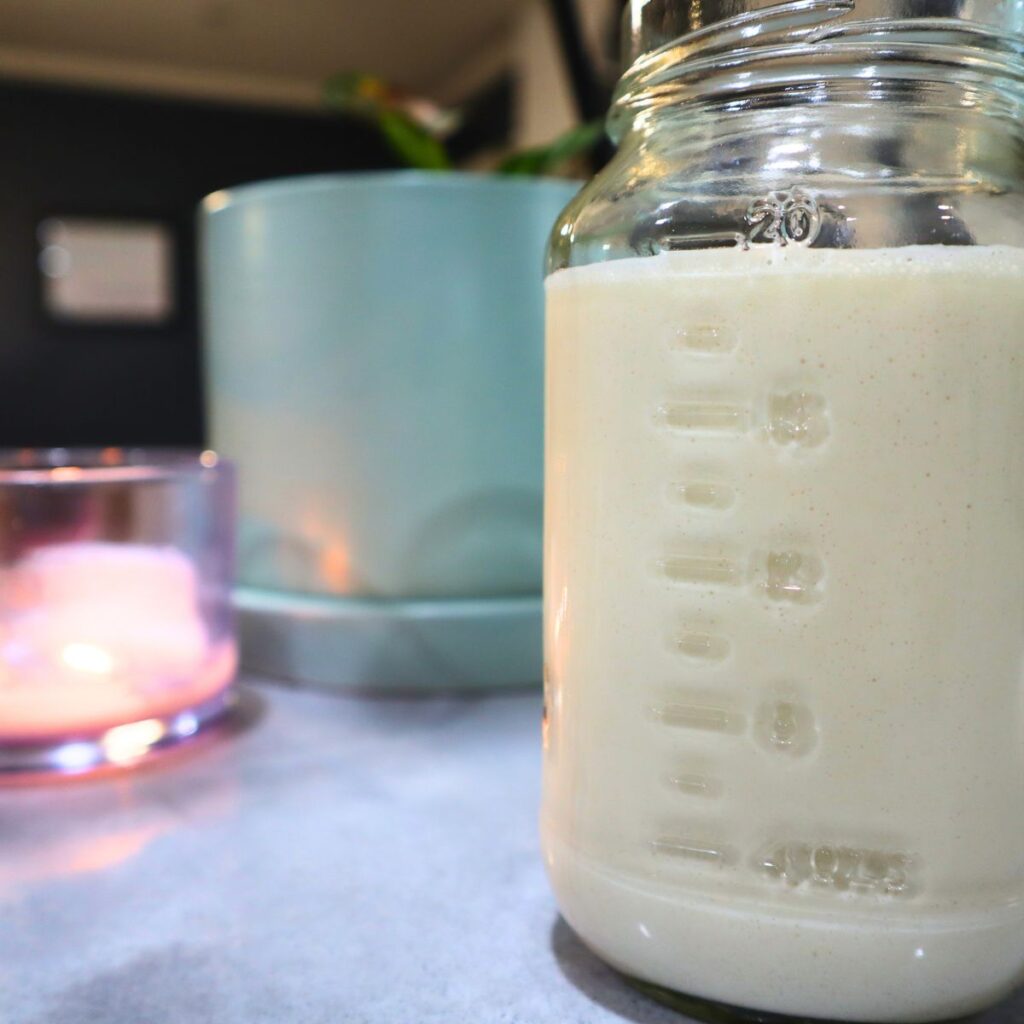
- In a clean jar or container, add 100 grams of all-purpose flour.
- Add 100 grams of filtered water and stir until well combined.
- Cover the jar with plastic wrap or a clean cloth and secure it with a rubber band.
- Place the jar in a warm spot out of direct sunlight.
Day 2:
- Check your starter. You should start to see some small bubbles forming on the surface.
- Discard half of the starter (about 100 grams) and add 100 grams of all-purpose flour, and 100 grams of filtered water.
- Stir until well combined and cover the jar again.
- Return the jar to the warm spot.
Day 3:
- Check your starter. It should be starting to smell sour and have more bubbles.
- Discard half of the starter (about 100 grams) and add 100 grams of all-purpose flour, and 100 grams of filtered water.
- Stir until well combined and cover the jar again.
- Return the jar to the warm spot.
Days 4-7:
- Repeat the feeding process twice a day, discarding half of the starter and adding 50 grams of whole wheat flour, 50 grams of all-purpose flour, and 100 grams of filtered water each time.
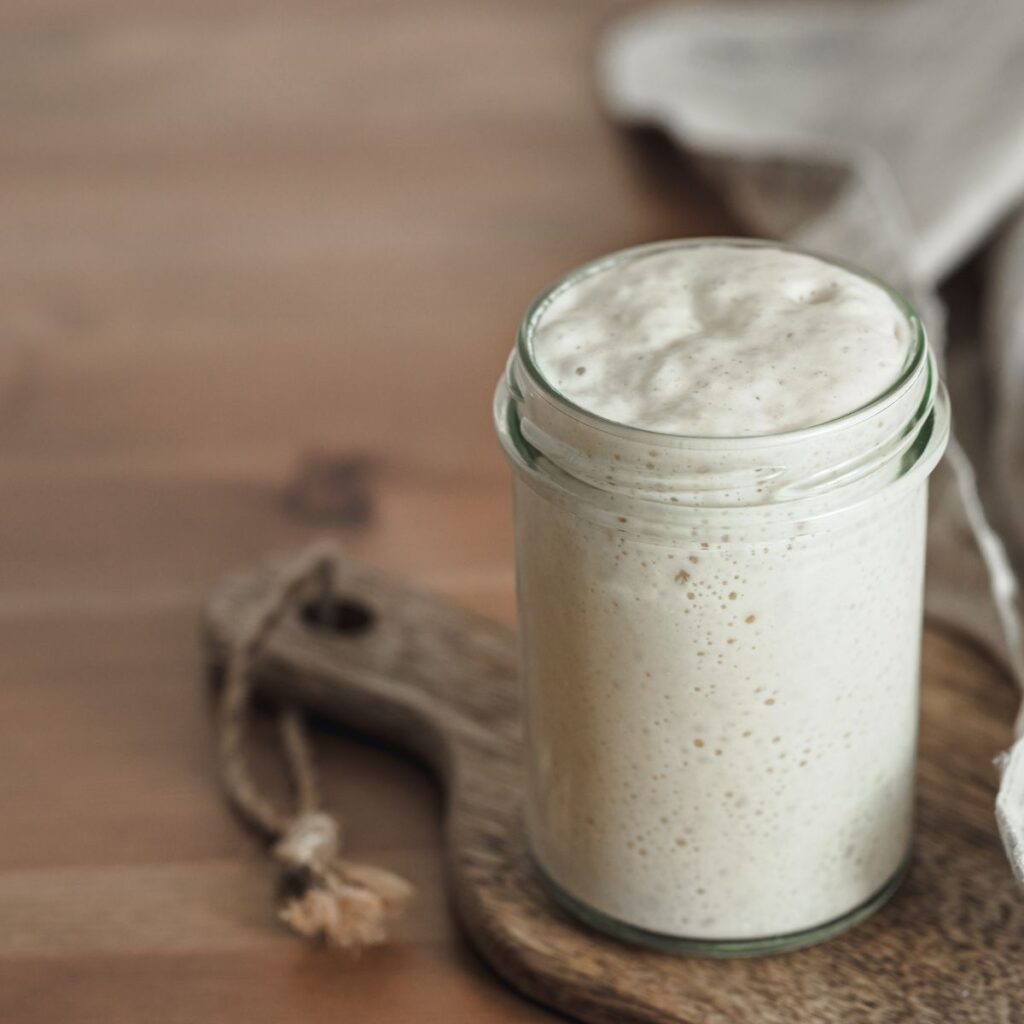
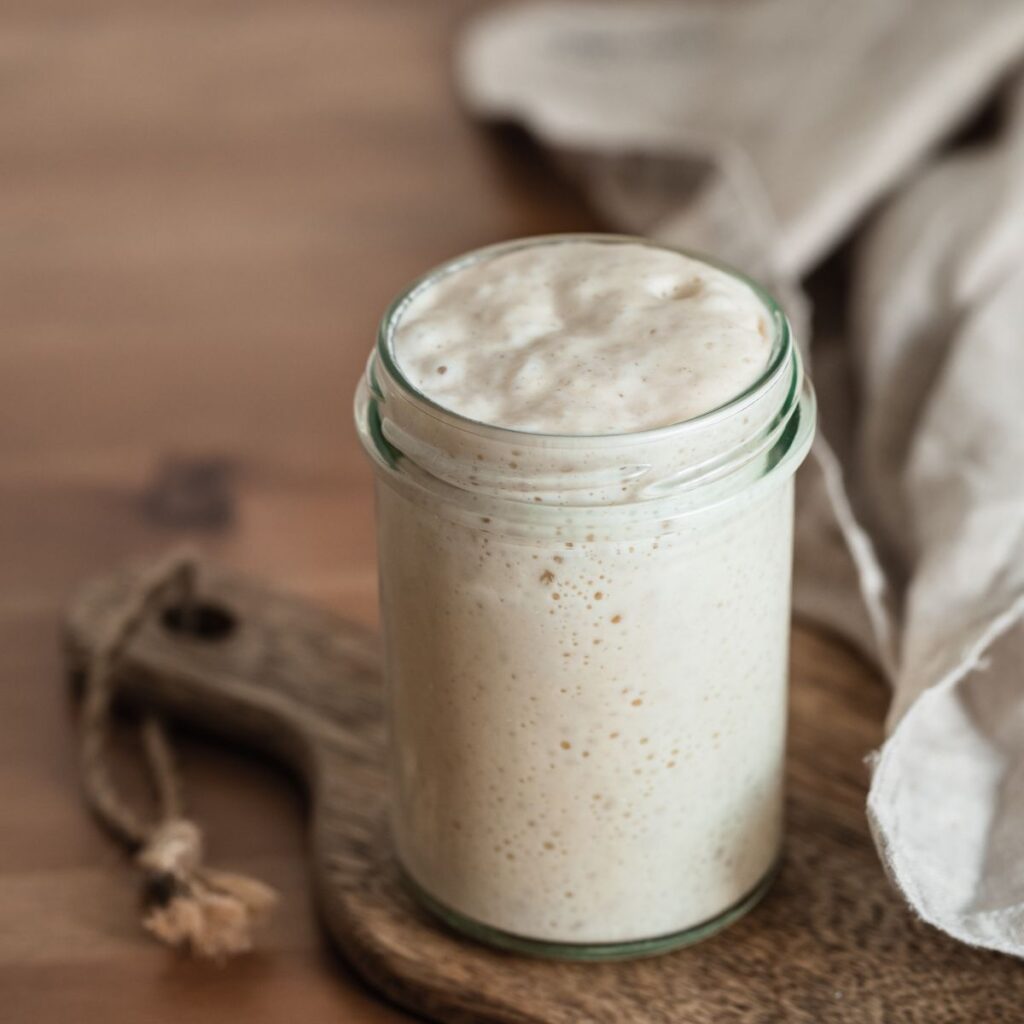
- Your starter should become more active and bubbly over time.
By day 7, your sourdough starter should be mature enough to use in a bread recipe. To test if your starter is ready, try the float test. Drop a small portion of your starter into a bowl of water. If it floats, your starter is ready to use.
Creating Your Own Sourdough Starter
Before we get into the feeding process, let’s talk about how to create your own sourdough starter. You can make a sourdough starter by following the recipe and instructions in this post. There is also a printable version at the bottom of the post for you to refer back to. During the creation of your sourdough starter the natural yeasts in the air will begin to colonize the mixture, creating a sourdough culture.
After a few days, you’ll begin to see some activity in the jar as the natural yeasts and lactic acid bacteria start to ferment the mixture. You can test your starter’s activity by performing a float test. To do this, take a small portion of your starter and drop it into a glass of room temperature water. If it floats, it’s ready to use.
Is It Okay To Use All-Purpose Flour For Sourdough Starter?
Absolutely! All-purpose flour is a great choice for sourdough starter because it contains a moderate amount of protein and gluten, which provide structure to the starter as it ferments. It also has a neutral flavor, allowing the natural leavening agents in the starter to develop their own unique flavor over time. Additionally, all-purpose flour is readily available and affordable, making it a convenient choice for home bakers.

How Do You Keep Sourdough Starter Alive?
Once you have an active sourdough starter, you’ll need to maintain it with regular feedings. The feeding process is simple: you’ll need to discard half of the starter and add equal parts of flour and water to the remaining starter.
For example, if you have 100 grams of starter, you’ll discard 50 grams and add 50 grams of flour and 50 grams of water to the remaining starter. Mix the starter well, cover it with plastic wrap or a coffee filter lid secured with a rubber band, and let it sit in a warm place for several hours.
The ratio of starter to flour and water is important for maintaining a healthy sourdough starter. A good rule of thumb is to use a 1:1:1 ratio of starter, flour, and water by weight. For example, if you have 50 grams of starter, you’ll add 50 grams of flour and 50 grams of water.
If you’re not using your starter for baking every day, you can store it in the refrigerator. To do this, feed your starter as usual, then transfer it to an airtight container and place it in the fridge. Your sourdough starter will become dormant in the cold environment, but it will still need regular feedings to keep it healthy.

Maintaining Your Sourdough Starter
If you have an established starter that you’ve been using for a long time, you may need to adjust the feeding process to keep it healthy. Old starters can become too sour or too weak if they’re not fed properly.
If your starter is too sour, you can try feeding it with a stiffer starter. A stiffer starter has less hydration and will produce less acetic acid, which is what makes sourdough bread taste tangy. To make a stiffer starter, simply use less water in your feeding process. For example, if you normally use 50 grams of water for every 50 grams of flour and 50 grams of starter, try reducing the water to 30 grams and increasing the flour to 70 grams.
If your starter is too weak, you may need to increase the frequency of feedings or adjust the feeding ratio. Try feeding your starter twice a day instead of once, or increase the amount of flour and water you add to your starter.
How To Store Sourdough Starter
If you need to store your sourdough starter for a long time, there are a few different storage methods you can use. The best storage method depends on how long you need to store your starter and how you plan to use it.
For short-term storage (up to a few days), you can store your sourdough starter in an airtight container at room temperature. Make sure to feed your starter before storing it and give it a good stir before using it again.
For longer-term storage (up to a few weeks), you can store your sourdough starter in the refrigerator. Feed your starter as usual, then transfer it to an airtight container and place it in the fridge. Your starter will become dormant in the cold environment, but it will still need regular feedings to keep it healthy.
If you need to store your sourdough starter for even longer (up to several months), you can dry your starter. To do this, spread a thin layer of your sourdough starter on a sheet of parchment paper or a silicone mat and let it dry in a warm, dry place for several days. Once your starter is completely dry, break it into small pieces and store it in a plastic bag or airtight container in a dry place. When you’re ready to use your starter again, rehydrate it by mixing it with warm water and flour.
How Do I Use My Sourdough Starter?
You can use your sourdough starter in tons of different ways! One of the most popular, of course, is by making a delicious crusty loaf of sourdough bread.
Easy + Delicious Sourdough Bread Recipe
How To Make Sourdough Bread Without A Dutch Oven
Sourdough Starter

Step-By-Step Instructions for creating your very own sourdough starter
Ingredients
- 200 grams all-purpose flour
- 200 grams filtered water
Instructions
Day 1:
- In a clean jar or container, add 100 grams of all-purpose flour.
- Add 100 grams of filtered water and stir until well combined.
- Cover the jar with plastic wrap or a clean cloth and secure it with a rubber band.
- Place the jar in a warm spot out of direct sunlight.
Day 2:
- Check your starter. You should start to see some small bubbles forming on the surface.
- Discard half of the starter (about 100 grams) and add 100 grams of all-purpose flour, and 100 grams of filtered water.
- Stir until well combined and cover the jar again.
- Return the jar to the warm spot.
Day 3:
- Check your starter. It should be starting to smell sour and have more bubbles.
- Discard half of the starter (about 100 grams) and 100 grams of all-purpose flour, and 100 grams of filtered water.
- Stir until well combined and cover the jar again.
- Return the jar to the warm spot.
Days 4-7:
- Repeat the feeding process twice a day, discarding half of the starter and adding 100 grams of all-purpose flour, and 100 grams of filtered water each time.
- Your starter should become more active and bubbly over time.
By day 7, your sourdough starter should be mature enough to use in a bread recipe. To test if your starter is ready, try the float test. Drop a small portion of your starter into a bowl of water. If it floats, your starter is ready to use.
Notes
- Use filtered water or bottled water instead of tap water, which can contain chlorine and other chemicals that can harm the natural yeasts in your starter.
- Keep your starter at room temperature, ideally between 68-75°F (20-24°C), for best results.
- Use a clean jar or container and a clean spoon or spatula to mix and feed your starter.
- Don't worry if your starter seems slow to develop at first. It can take several days to establish a healthy sourdough culture.
- You can use your sourdough discard in recipes like pancakes, waffles, and French toast.
- Remember to always feed your starter before using it in a bread recipe. Use a ratio of 1:1:1, with equal parts of mature starter, flour, and water.
- Regular feedings are important to maintain a healthy sourdough starter. Once your starter is established, you can switch to feeding it once a day instead of twice.
- A stiffer starter with less hydration (more flour, less water) will ferment more slowly and produce a more sour flavor. A looser starter with more hydration (more water, less flour) will ferment more quickly and produce a milder flavor. Adjust the hydration of your starter to achieve the flavor and texture you prefer.
Leave a Reply