
If you’re looking to update your kitchen cabinets and give them a fresh new look, replacing the hinges can be a great way to achieve that transformation. Whether your old hinges are worn out, rusty, or simply don’t match your desired aesthetic, installing new hinges can make a significant difference. In this comprehensive guide, we’ll walk you through the step-by-step process of replacing kitchen cabinet hinges, from choosing the right hinges to removing the old ones and installing the new ones. Get ready to embark on a DIY project that will breathe new life into your kitchen!
Discloser Note:
This post may contain affiliate links, which means I make a small commission at no extra cost to you. See my full disclosure here.
Key Highlights
- Is It Hard To Replace Hinges?
- Most Important Steps For Replacing Kitchen Cabinet Hinges
- Tools Needed To Replace Your Kitchen Cabinet Hinges
- Removing The Old Hinges
- Before You Replace The Kitchen Cabinet Hinges
- How Do You Reattach Cabinet Hinges?
- How To Replace Kitchen Cabinet Hinges
- How Difficult Is It To Replace Kitchen Hinges?
- How Do I Choose The Right Hinge For My Cabinets?
Is It Hard To Replace Hinges?
No, replacing the current hinges on your kitchen cabinets a beginner level diy project and one of the best ways to update your kitchen cabinets without painting.
Regardless of if you are in a new kitchen or working with old cabinets replacing the hinges is not a lot of work and can be easily done. Cabinet door hinges are not difficult to replace at all. I am still a beginner at all things diy, power tools, and so on yet I was easily able to replace the cabinet door hinges in our kitchen.
Most Important Steps For Replacing Kitchen Cabinet Hinges
The first step in replacing kitchen cabinet hinges is selecting the right type of hinge for your cabinets. There are several different types of hinges available, including concealed or hidden hinges, semi-concealed hinges, and overlay hinges. Each type has its own unique features and installation requirements, so it’s important to choose the hinge that best suits your cabinet style and door type. Consider factors such as the type of door (e.g., inset, overlay), the frame type (face frame or frameless), and the desired functionality (e.g., soft-close hinges).
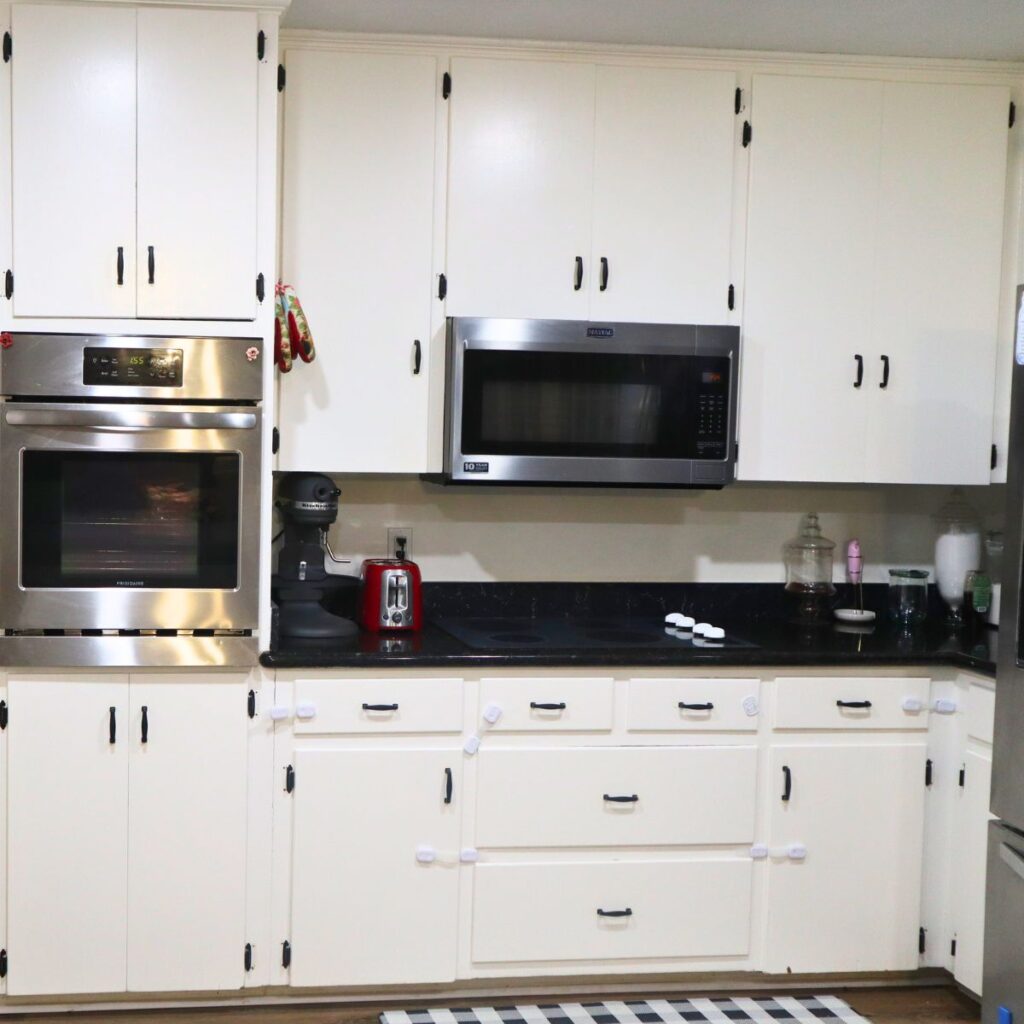
I determined the type of hinges that I needed by looking at the style and size of the old hinge on my cabinet doors. My kitchen has exposed hinges on the old cabinet doors so color was also an important factor when I was selecting my kitchen cabinet hinges. If you have new cabinets or a more modern kitchen then you probably have hinges that cannot be seen from outside of the cabinets when the door is closed and therefore color would not be as much of a factor.
Tools Needed To Replace Your Kitchen Cabinet Hinges
Once you have determined the appropriate hinge type, it’s time to gather the necessary tools for the job. You will need basic tools such as a power drill, a drill bit, a screwdriver (preferably a Phillips screwdriver), measuring tape, and wood glue. Having the right tools on hand will ensure a smooth and efficient hinge replacement process.
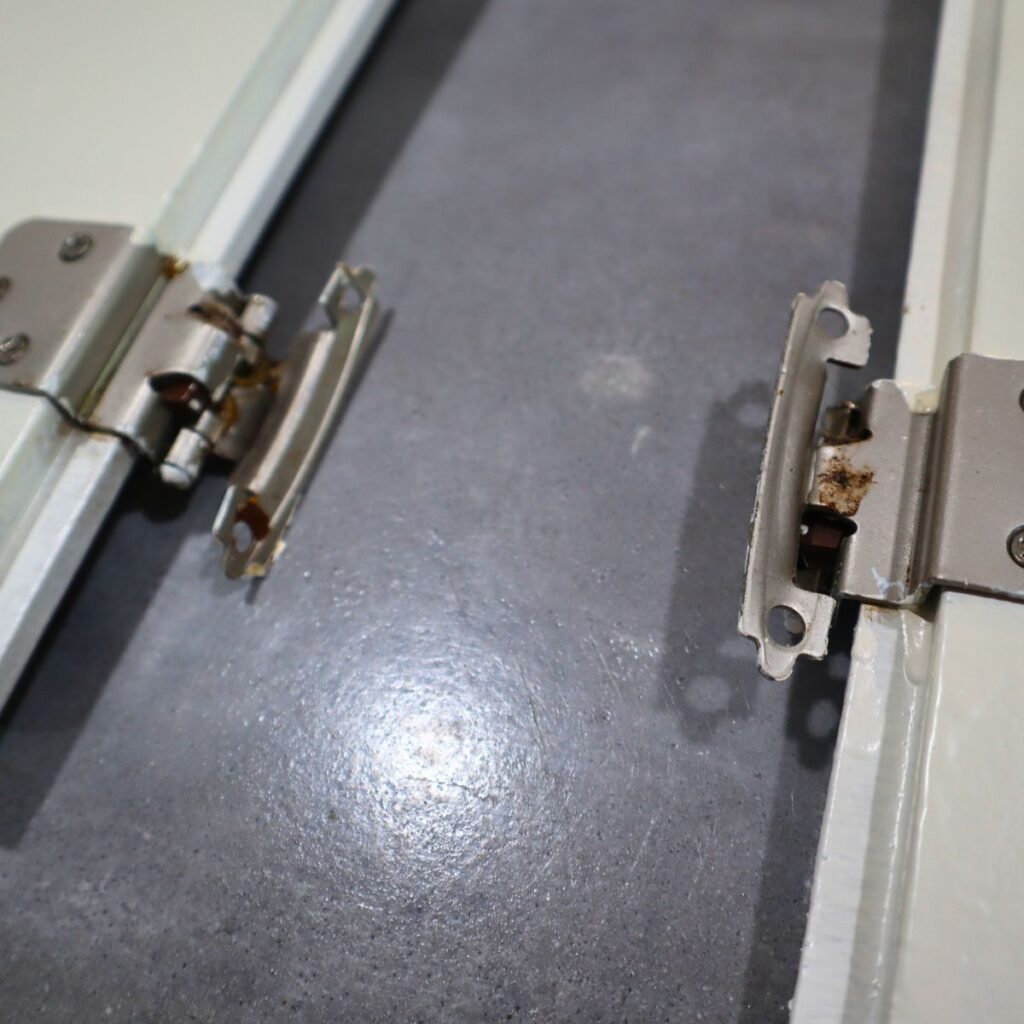
I also found it helpful to have a hammer, a pencil, and a pair of scissors. The hammer was because the old hinges on my doors were both rusted had been painted over countless times. For several of the hinges I would need to use the hammer to lightly tap on the hinge after removing the screws so that the hinge would release from the door.
I used the pencil for making marks when I needed to drill new holes inside of the door or on the cabinet frame and the scissor were to open the plastic wrapping that was around each individual hinge I had ordered.
You may not need all of the tools listed but at the very minimum you should have a phillips screwdriver.
Removing The Old Hinges
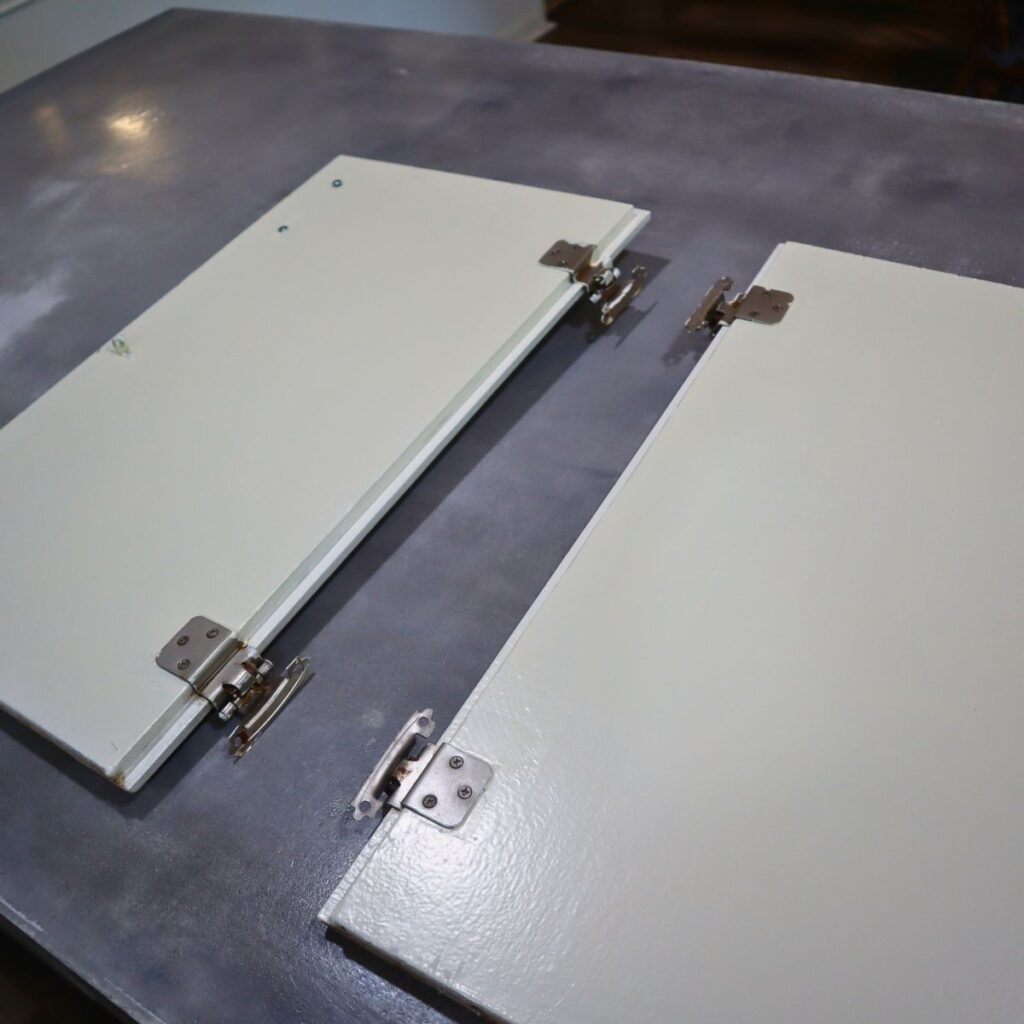
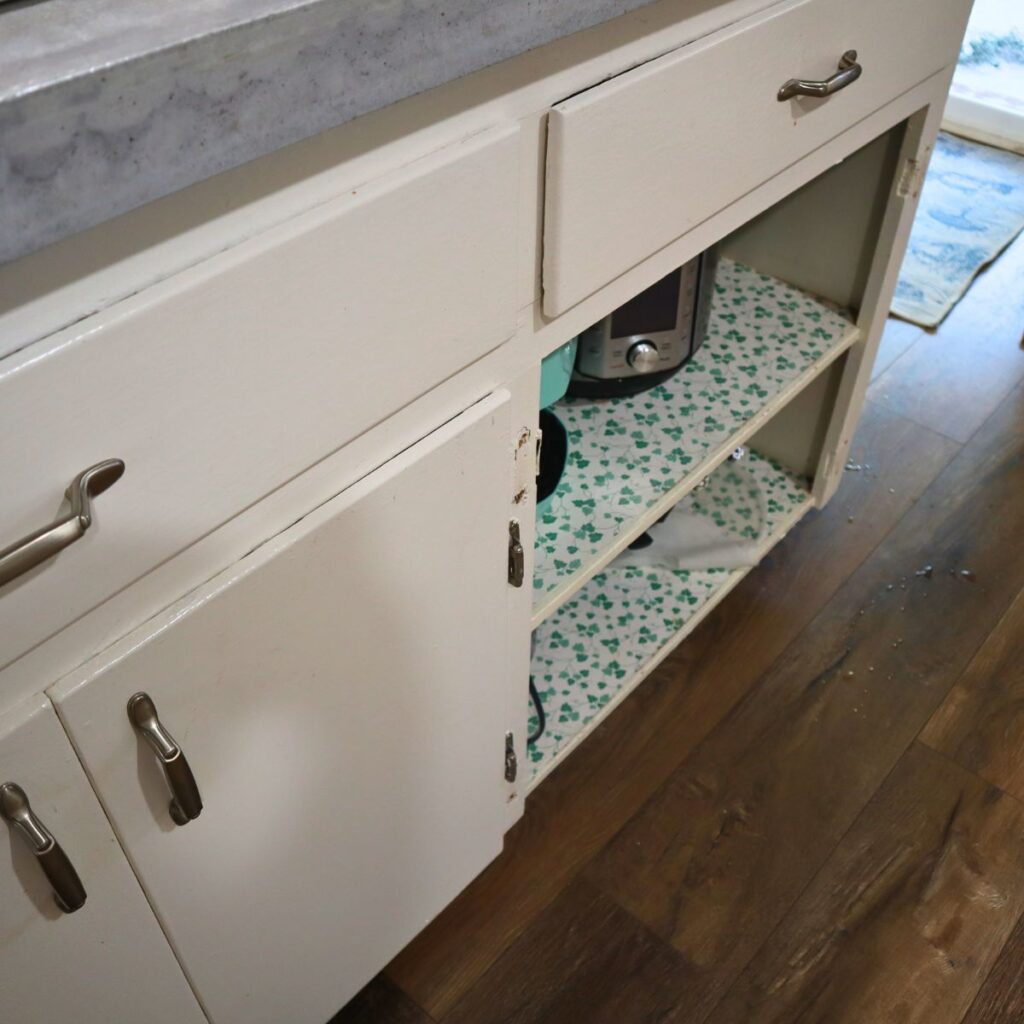
The next step is removing the old hinges from your kitchen cabinet doors. Start by opening the cabinet door and locating the screws that attach the hinges to the door. Unscrew these screws using a screwdriver, and gently lift the door away from the cabinet frame. Set aside the old doors.
Now it’s time to remove the old hinges from the cabinet frame. In some cases, the hinges may be attached to the frame with screws, while in others, they may be secured with nails or staples. Carefully remove any fasteners holding the old hinges in place, taking care not to damage the cabinet frame or surrounding surfaces.
Before You Replace The Kitchen Cabinet Hinges
With the old hinges removed, it’s important to assess the condition of the hinge holes in both the cabinet doors and the cabinet frame. If the existing holes are in good condition and align properly with the new hinges, you can proceed with installing the replacement hinges. However, if the old holes are damaged or do not align correctly, you will need to create new holes using a drill and the appropriate drill bit size.
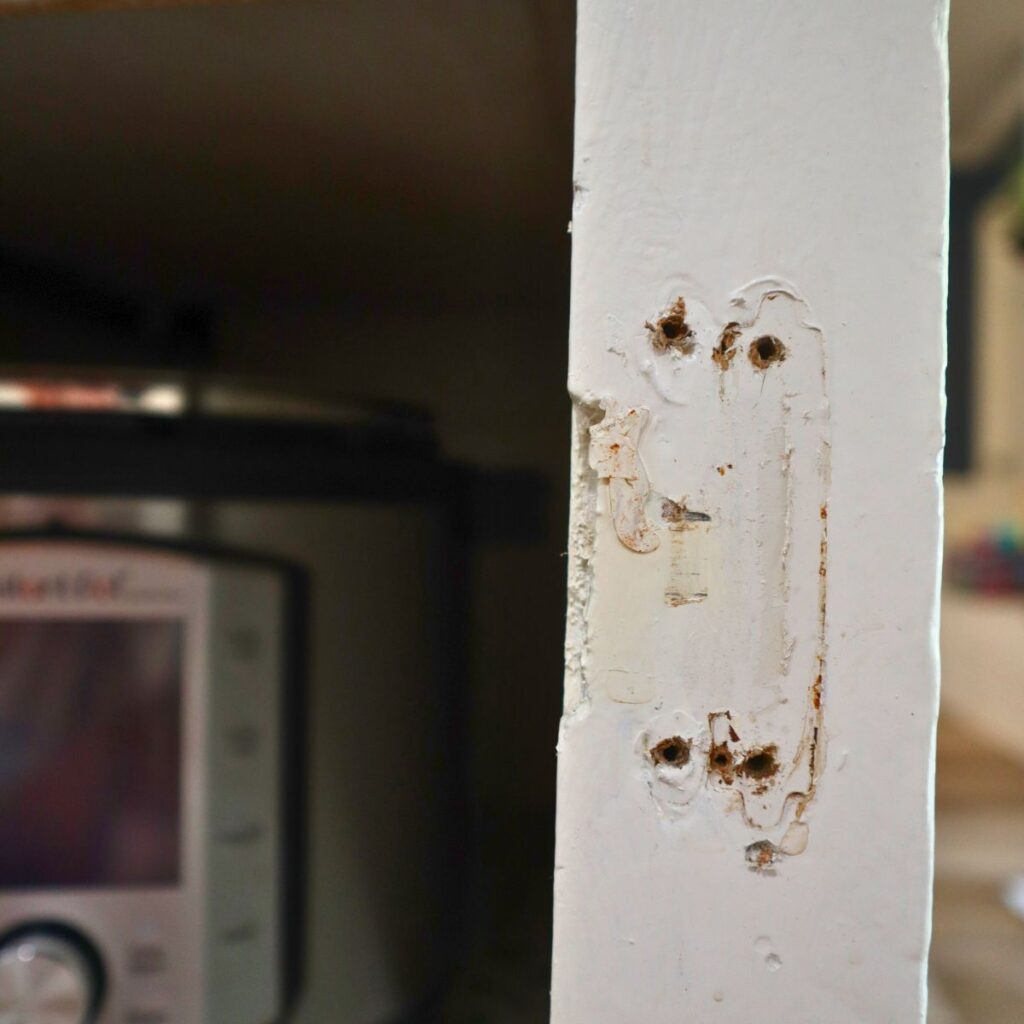
Before drilling new holes, it’s a good idea to use wood filler to fill any old holes that won’t be used. Apply the wood filler to the holes, allow it to dry according to the manufacturer’s instructions, and then sand it down to create a smooth surface. This step will ensure a clean and professional look when the new hinges are installed.
How Do You Reattach Cabinet Hinges?
Once the wood filler has dried and the surface is smooth, you can proceed with drilling new hinge holes. Measure and mark the desired location for the new holes on the cabinet doors and the cabinet frame, ensuring that they align properly. Use a drill with the appropriate drill bit size to create pilot holes for the screws that will hold the hinges in place. Pilot holes will prevent the wood from splitting and make it easier to install the new hinges.

After drilling the pilot holes, you’re ready to install the new hinges. Begin by attaching the mounting plates to the inside of the cabinet doors. Line up the plates with the pilot holes and secure them in place using the provided screws. Make sure the plates are flush with the surface of the door to ensure proper alignment.
Next, attach the hinges to the mounting plates. Line up the hinge holes with the pilot holes in the cabinet frame and secure the hinges using the provided screws. Be sure to tighten the screws firmly but not overly tight, as overtightening can cause damage to the cabinet or affect the hinge’s functionality.
How To Replace Kitchen Cabinet Hinges
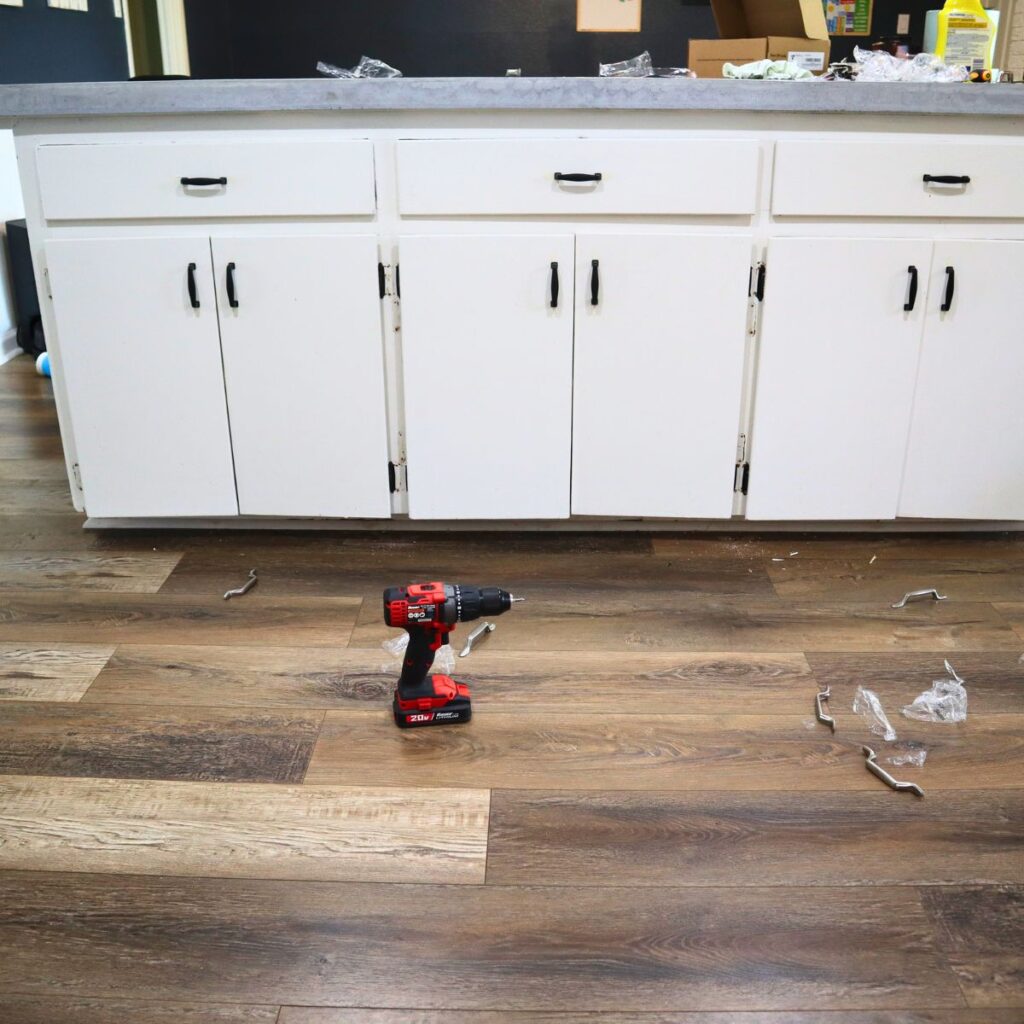
Once the new hinges are installed, it’s time to reattach the cabinet doors to the cabinet frame. Align the hinges on the doors with the corresponding hinge plates on the frame, and gently lower the doors into position. Make any necessary adjustments to ensure that the doors are level and aligned properly. Tighten the screws on the hinges to secure the doors in place, taking care not to overtighten.
Finally, test the movement of the cabinet doors to ensure they open and close smoothly. Adjust the hinges as needed by using the adjustment screws, which can help fine-tune the positioning of the doors. If you have chosen soft-close hinges, make sure they function correctly and provide the desired soft-closing effect.

How Difficult Is It To Replace Kitchen Hinges?
Replacing kitchen cabinet hinges is generally considered a beginner-level DIY project and is not particularly difficult. With the right tools and a step-by-step approach, most homeowners can successfully replace their cabinet hinges. The level of difficulty may vary depending on factors such as the type of hinges being replaced, the condition of the cabinet doors and frame, and the individual’s familiarity with DIY projects.
Are There Different Types Of Hinges Available, And How Do I Choose The Right One For My Cabinets?
Yes, there are different types of hinges available for kitchen cabinets, and choosing the right one depends on factors such as the cabinet style, door type, and desired functionality. Some common types of hinges include concealed or hidden hinges, semi-concealed hinges, overlay hinges, and inset hinges.
To choose the right hinge for your cabinets, you can read this post on kitchen door hinge types. It can also be helpful to remove an existing hinge and take it to a hardware store or consult with a professional to ensure you find a matching replacement.
How To Replace Kitchen Cabinet Hinges (Easy DIY)

If you're looking to update your kitchen cabinets and give them a fresh new look, replacing the hinges can be a great way to achieve that transformation. Whether your old hinges are worn out, rusty, or simply don't match your desired aesthetic, installing new hinges can make a significant difference. In this comprehensive guide, we'll walk you through the step-by-step process of replacing kitchen cabinet hinges.
Materials
- New hinges
Tools
- Phillips screwdriver
- Power drill, optional but encouraged
- If drilling new holes:
- Drill bit
- Pencil
- Measuring tape
Instructions
1. Start by opening the cabinet door and locating the screws that attach the hinges to the door. Unscrew these screws using a screwdriver, and gently lift the door away from the cabinet frame. Set aside the old doors.
2. Now it's time to remove the old hinges from the cabinet frame. In some cases, the hinges may be attached to the frame with screws, while in others, they may be secured with nails or staples. Carefully remove any fasteners holding the old hinges in place, taking care not to damage the cabinet frame or surrounding surfaces.
3. With the old hinges removed, it's important to assess the condition of the hinge holes in both the cabinet doors and the cabinet frame. If the existing holes are in good condition and align properly with the new hinges, you can proceed with installing the replacement hinges. However, if the old holes are damaged or do not align correctly, you will need to create new holes using a drill and the appropriate drill bit size.
4. Measure and mark the desired location for the new holes on the cabinet doors and the cabinet frame, ensuring that they align properly. Use a drill with the appropriate drill bit size to create pilot holes for the screws that will hold the hinges in place. Pilot holes will prevent the wood from splitting and make it easier to install the new hinges.
5. After drilling the pilot holes, you're ready to install the new hinges. Begin by attaching the mounting plates to the inside of the cabinet doors. Line up the plates with the pilot holes and secure them in place using the provided screws. Make sure the plates are flush with the surface of the door to ensure proper alignment.
6. Next, attach the hinges to the mounting plates. Line up the hinge holes with the pilot holes in the cabinet frame and secure the hinges using the provided screws. Be sure to tighten the screws firmly but not overly tight, as overtightening can cause damage to the cabinet or affect the hinge's functionality.
7. Once the new hinges are installed, it's time to reattach the cabinet doors to the cabinet frame. Align the hinges on the doors with the corresponding hinge plates on the frame, and gently lower the doors into position. Make any necessary adjustments to ensure that the doors are level and aligned properly. Tighten the screws on the hinges to secure the doors in place, taking care not to overtighten.
8. Finally, test the movement of the cabinet doors to ensure they open and close smoothly. Adjust the hinges as needed by using the adjustment screws, which can help fine-tune the positioning of the doors. If you have chosen soft-close hinges, make sure they function correctly and provide the desired soft-closing effect.
Notes
Before drilling new holes, it's a good idea to use wood filler to fill any old holes that won't be used. Apply the wood filler to the holes, allow it to dry according to the manufacturer's instructions, and then sand it down to create a smooth surface. This step will ensure a clean and professional look when the new hinges are installed.
Leave a Reply