
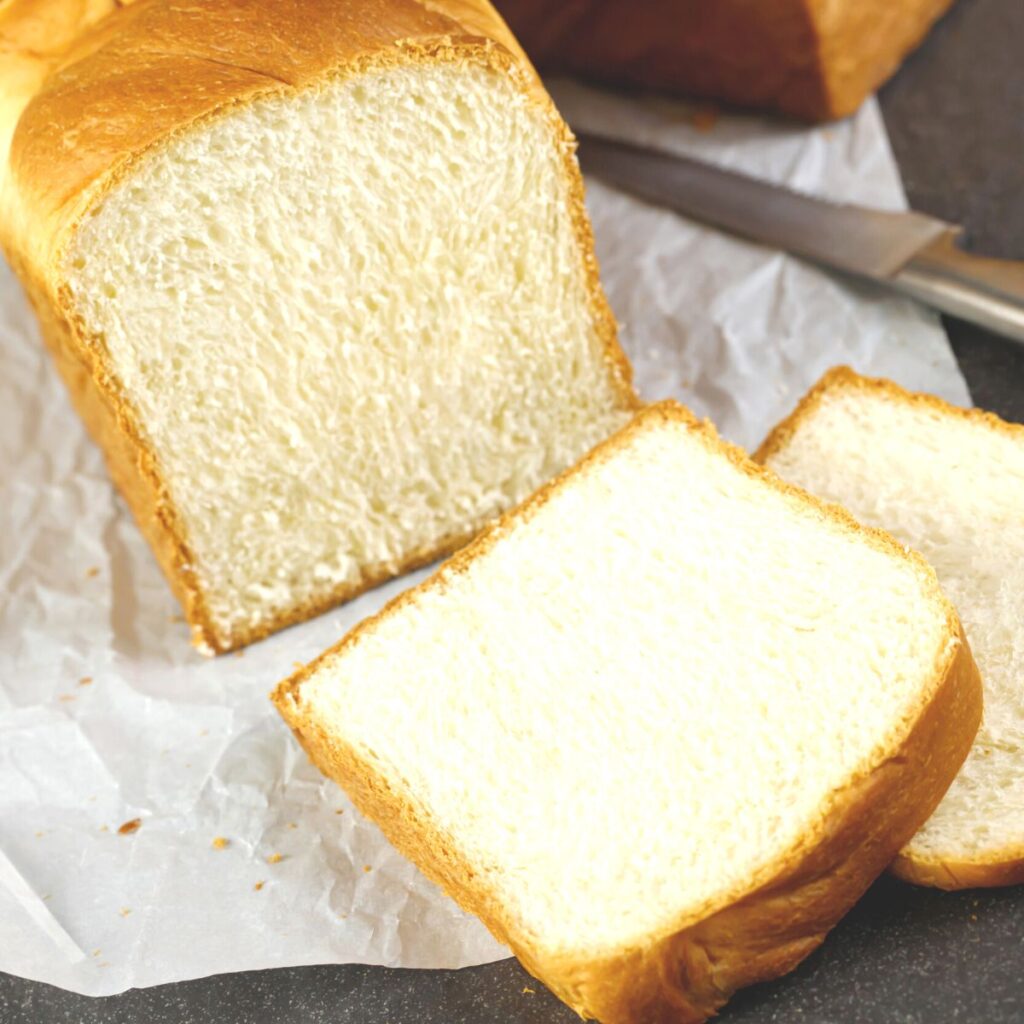
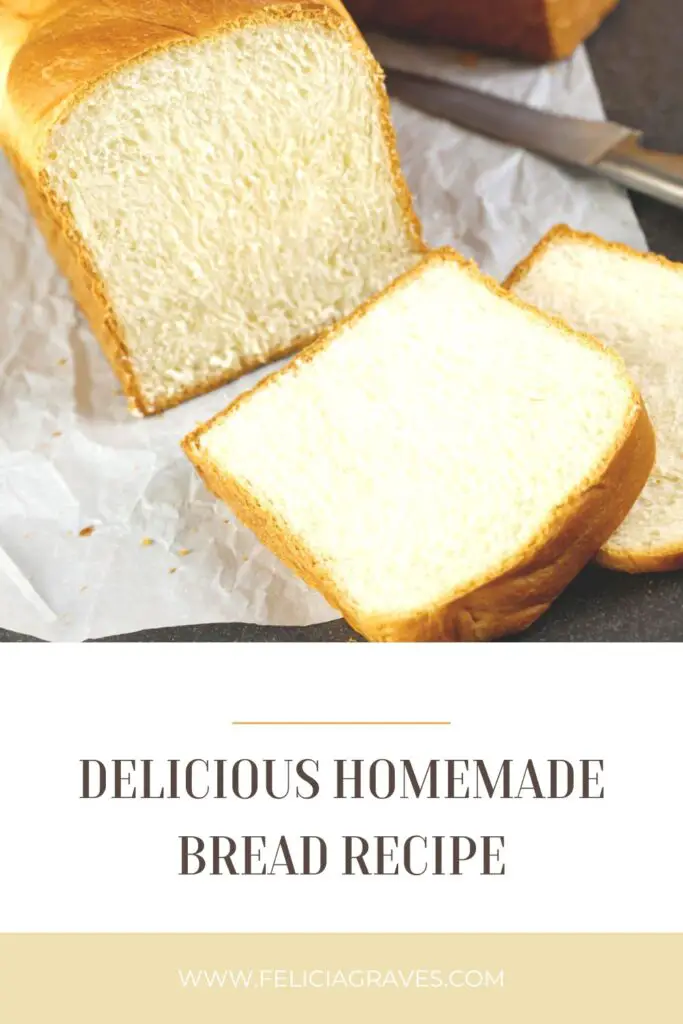
Freshly baked bread is warm, delicious, and satisfying. A simple, yet delightful, homemade bread made with yeast and all-purpose flour will create enticing smells from your kitchen that are impossible to resist.
Many people associate homemade bread with fond memories from their childhood. The nostalgic aroma and taste of the bread evokes warm feelings and memories. In fact, homemade bread is so precious that you might believe the recipe is quite complicated or complex.
This homemade bread recipe made with easy to find ingredients such as yeast and all purpose flour is straightforward, effortless, and truly very easy. The taste however cannot be matched.

Discloser Note:
This post may contain affiliate links, which means I make a small commission at no extra cost to you. See my full disclosure here.
What Is The Secret To Making Good Bread?
- Quality ingredients: Start with good quality flour and fresh yeast. Use ingredients that are fresh and free of additives and preservatives.
- Consistency: Consistency is important in bread making. Follow the recipe, measure the ingredients accurately, and be patient when it comes to rising and baking times. Do not rush the process!
- Kneeding: Kneading the dough is important to develop gluten, which gives bread its structure and texture. Knead the dough until it becomes smooth, elastic, and springs back when pressed. In this example I am using my KitchenAid Stand Mixer to kneed the dough but if you do not have a stand mixer this step can easily be accomplished by hand as well.
- Proper rising: Allow the dough to rise properly. The dough should double in size before you transfer it to the loaf pan for a second rise. The proper rising time will vary based on the temperature and humidity of the environment.
- Practice: Like any skill, bread making takes practice. Don’t be discouraged if your first loaves don’t turn out perfectly. Keep trying, and you will develop the skills and intuition necessary to make good bread.
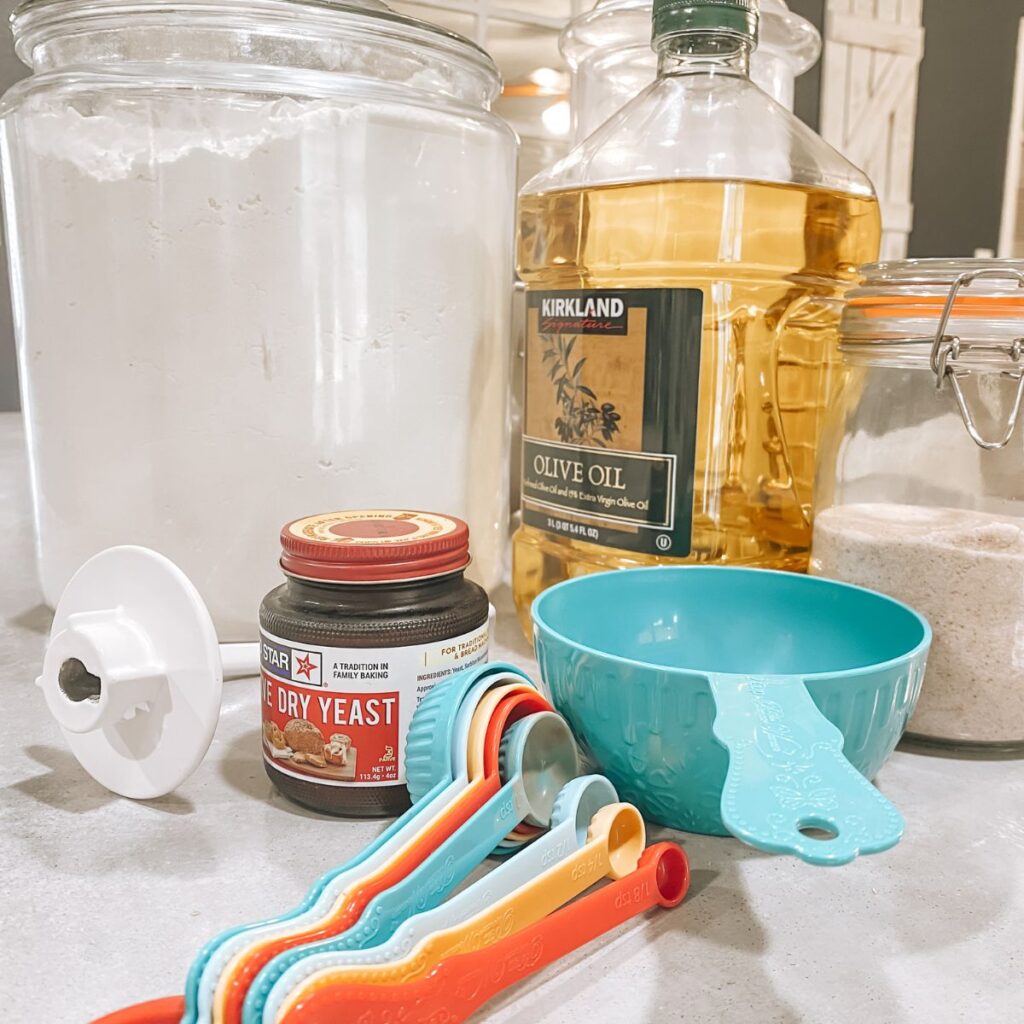
What Are The Main Ingredients In Homemade Bread?
The ingredients and tools that you will need for this homemade bread recipe are:
- All-purpose flour
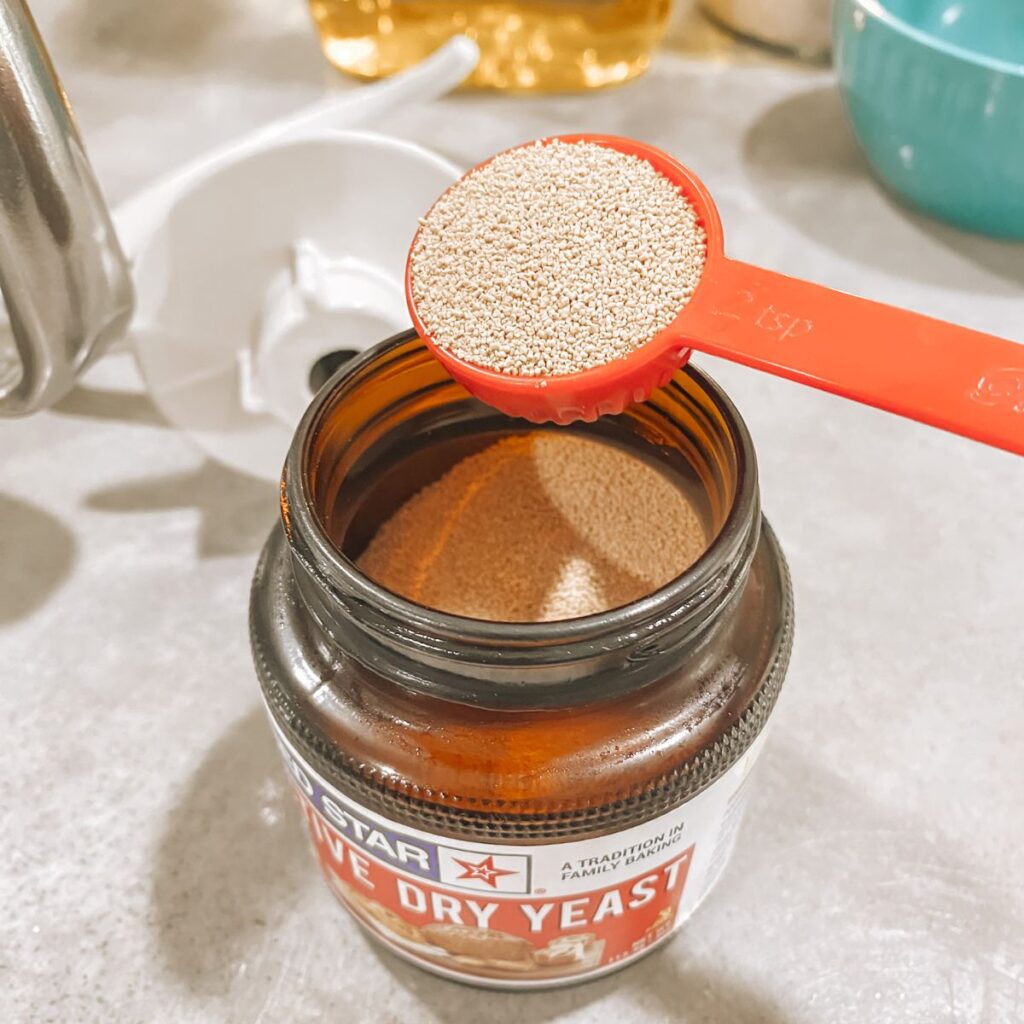
- Quick rising yeast
- Olive oil or another mild flavored oil
- Sugar
- Salt
- Water
- Non-stick spray
- Kitchen Aid Stand Mixer with dough hook, optional
- Pullman Loaf Pan with Cover, optional
- Bread knife or serrated knife for slicing
A note about the Pullman Loaf Pan with Cover. This particular bread pan will make a loaf that is perfectly rectangle and ideal for sandwich bread.
If you want to use a regular 9×5 loaf pan then you will need to cut this recipe in half or use two separate loaf pans.
Is Machine Bread As Good As Handmade?
You do not need a bread maker to make good homemade bread. While bread makers can be convenient, making bread by hand can be just as delicious and rewarding. Handmade bread is more aromatic and flavorful with a richer, chewy crust.
Making bread by hand allows you to have more control over the process, giving you the ability to adjust the recipe and techniques to achieve the desired texture and flavor. It can also be a more hands-on and rewarding experience, as you get to feel and shape the dough and watch it rise and transform in the oven.
So, while a bread maker can be a helpful tool, it is not necessary for making good homemade bread. With a little practice and patience, you can create delicious and satisfying bread right in your own kitchen.
Making Homemade Bread With Yeast And All-Purpose Flour
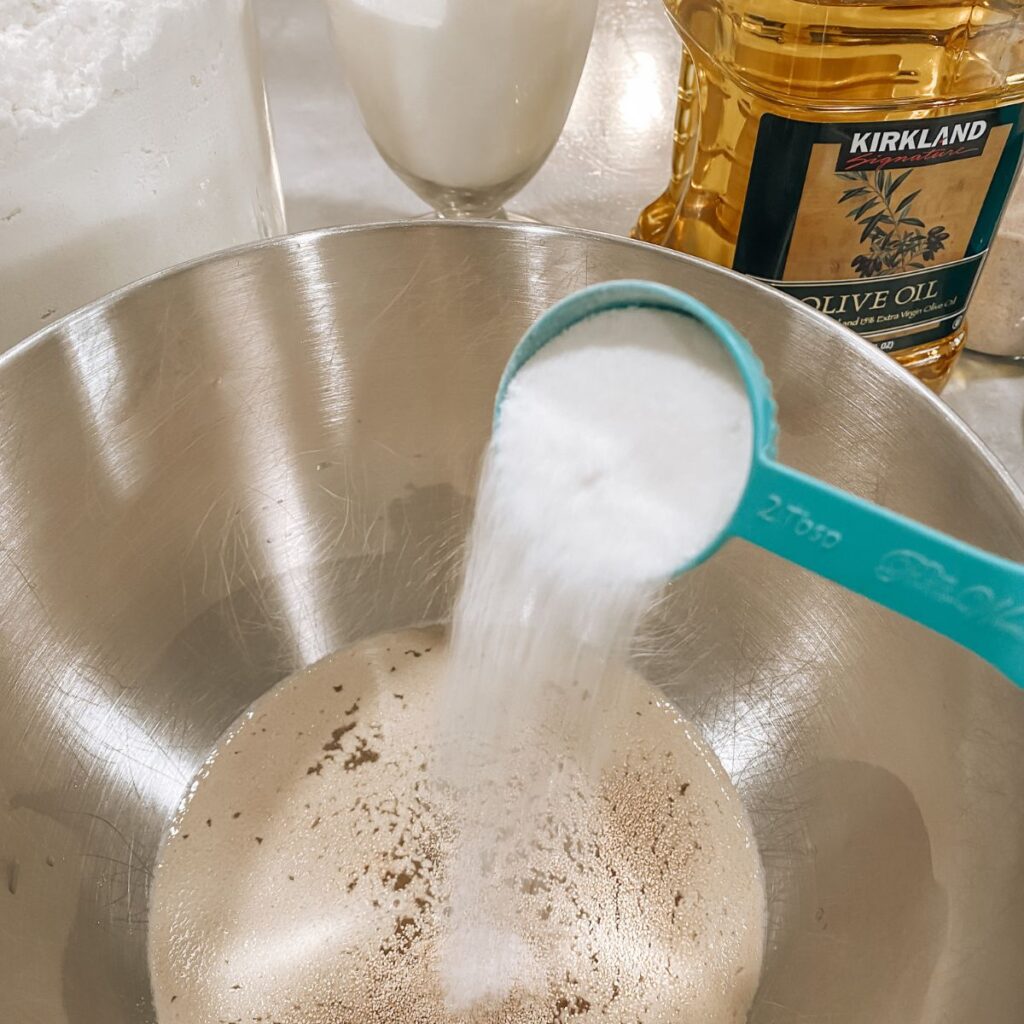
The first step to making your homemade bread is to add your warm water, yeast, and sugar into the bowl of your stand mixer or a large mixing bowl.
You want the water to be warm but not hot.
When you add warm water to the yeast, it stimulates the yeast cells, causing them to start fermenting and producing carbon dioxide gas. The carbon dioxide gas creates air pockets in the dough, which cause it to rise and gives bread its characteristic texture.
If the water is too hot it will kill the yeast cells rather than activate them. On the other hand if the water is too cold the yeast’s growth will be stunted which results in a much longer time for the bread dough to rise. For best results, use water that is slightly warmer than body temperature when activating the yeast.
The sugar that you are adding to this water, yeast, and sugar mixture is primarily added to help speed up the fermentation process and activate the yeast more quickly. When you add sugar to the yeast mixture, it provides an immediate source of food for the yeast, which can help it grow and produce carbon dioxide more quickly.
The amount of sugar in this recipe is very small. That is because the sugar is used more as food for the yeast rather than a flavoring for the bread. Too much sugar can actually slow down the fermentation process. While there are sweet breads made with yeast and you can increase the sugar content on this recipe if you choose it is important to be aware of the effect that additional sugar will have on the activation and fermentation of the yeast.
Using All Purpose Flour Rather Than Bread Flour
Once your yeast has had time to activate it is time to add in your oil, salt, and flour.
This recipe calls for all-purpose flour rather than a specialty bread flour. All purpose flour is something that a majority homes has ready access to and generally keep as a staple ingredient in their pantry. Another benefit of all purpose flour is that it has much more versatility than bread flour or specialty artisanal flour as it can be used in a wide variety of baked goods.
All purpose flour does have a lower protein content than bread flour. The higher protein content found in bread flour aides in the production of gluten which gives bread its structure and chewy texture. We overcome this protein different in the kneading portion of our recipe by ensuring that the gluten is well-developed.
How Much Flour Do I Need For Homemade Bread?
Add the flour in slowly in small batches using the dough hook attachment on your stand mixer. The small batches will avoid clogging up your machine but it will also prevent a giant cloud of flour from exploding up from the mixer.
If you are wondering if I know this from experience the answer is a resounding yes. Learn from my mistakes and stick to adding only one or two cups of flour at a time.
Another reason for using small batches is that the amount of flour needed for your recipe will vary depending upon your location, the temperature of your kitchen, the humidity level, altitude levels, and more. Even the same cook in the same kitchen may need to adjust the amount of flour from one day to the next.
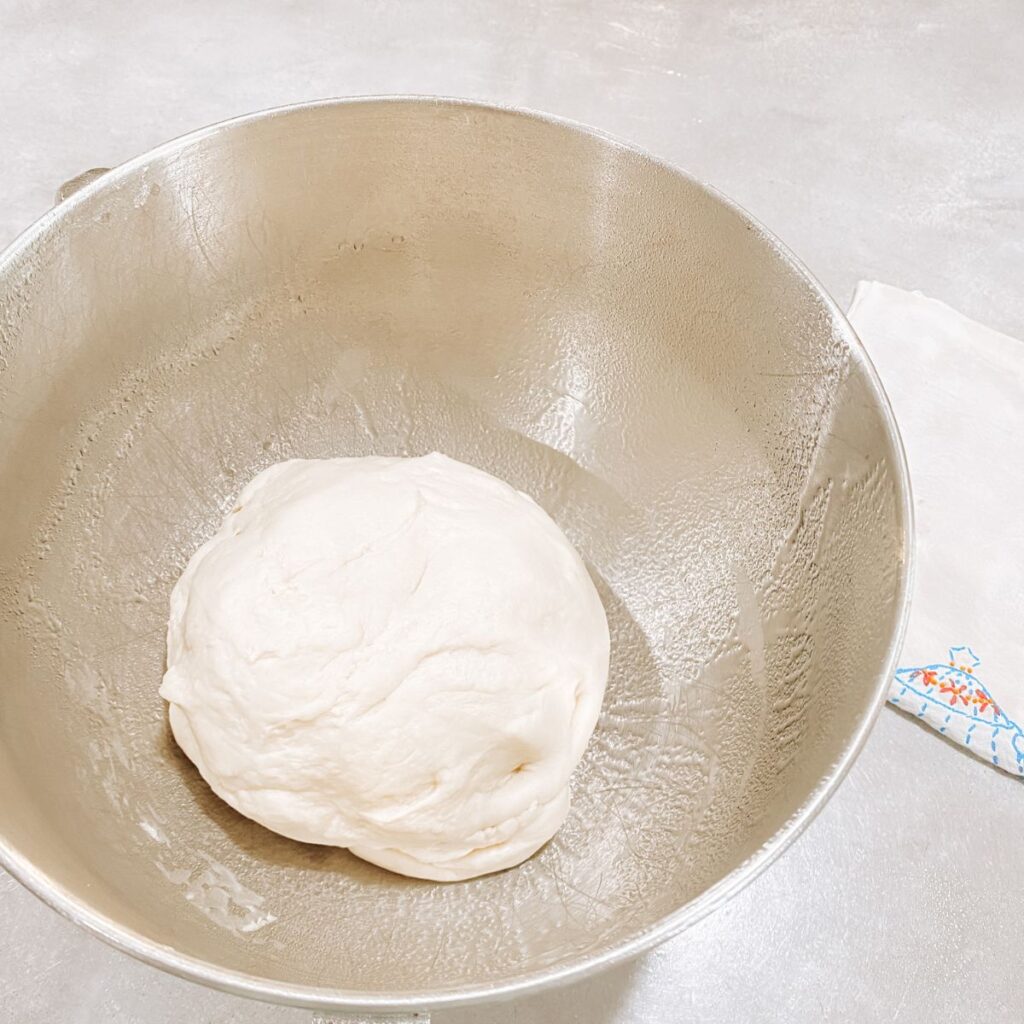
You will notice that the recipe below has a full cup variation on the amount of flour that you need. Start with the lowest amount and slowly add more as needed until your dough has begun to form a ball and pull away from the sides of the mixer. Your dough should no longer be sticky or difficult to handle.

How Long Do You Knead Homemade Bread With A Stand Mixer?
Once all of your ingredients have been added and your dough has formed into a ball that pulls away from the sides of the bowl it is time to begin kneading your bread.
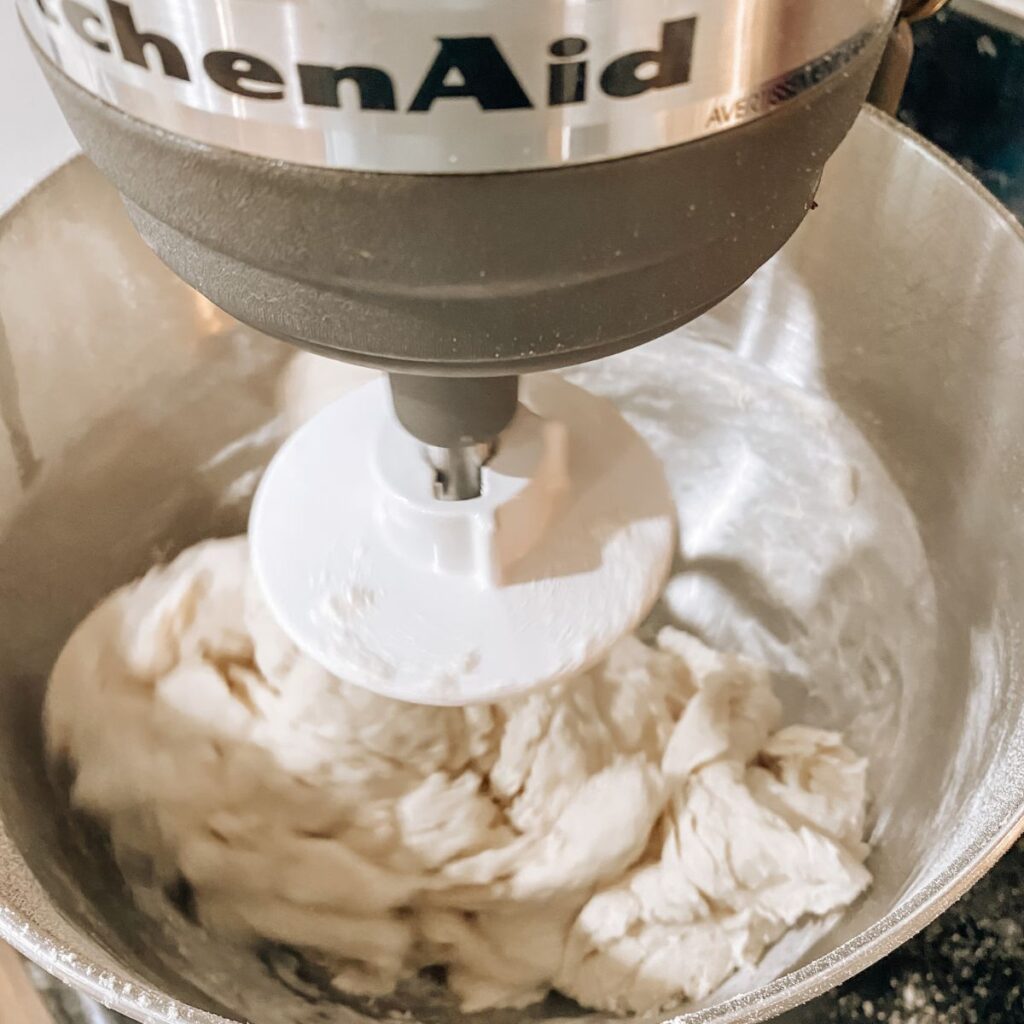
When you are kneading with a stand mixer knead on a low to medium-low speed for 3 minutes. After those three minutes pull the dough away from the dough hook and then knead again for another 2 minutes.
If you are kneading by hand you will want to knead the dough for 10-15 minutes.
How Many Times Do You Let Homemade Bread Dough Rise?
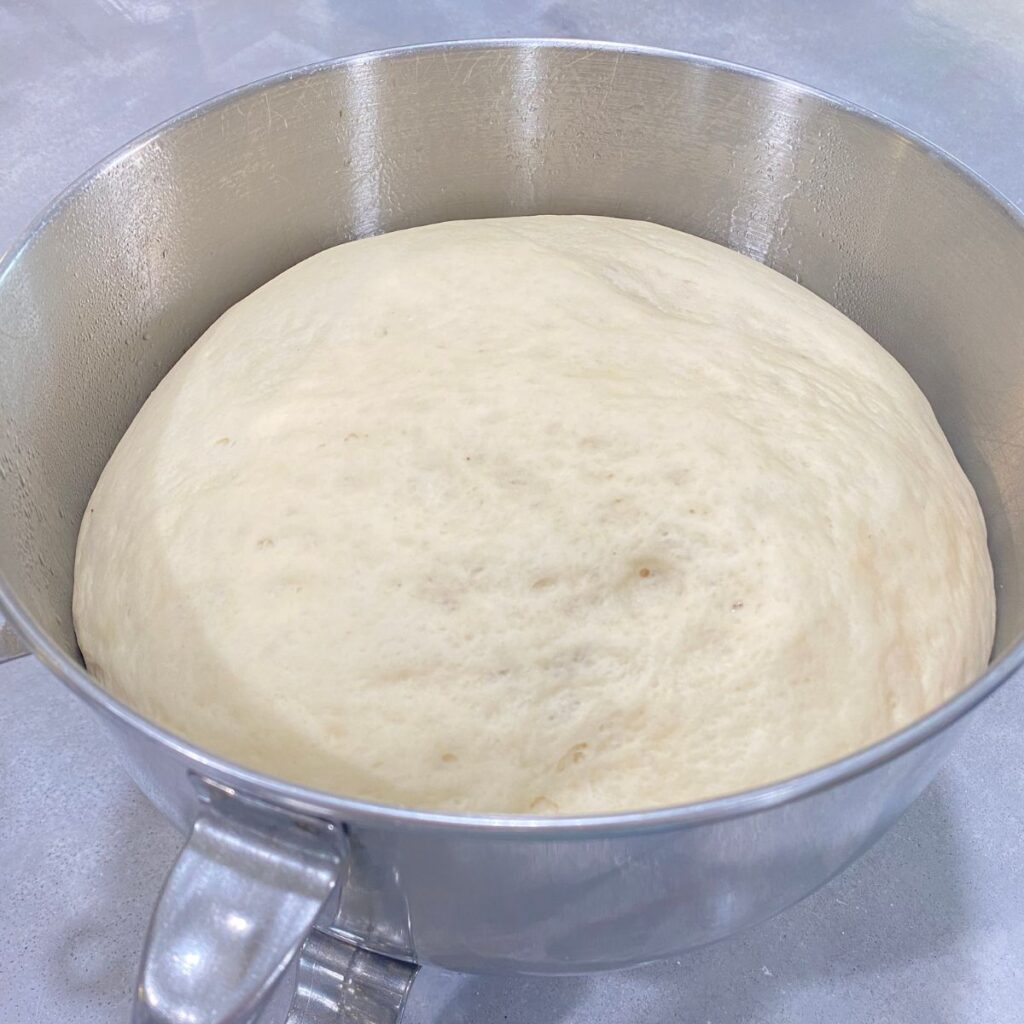
After kneading the bread dough will go through two rises. The first rise is referred to as the bulk rise. At this point the yeast in the dough starts to ferment, consuming the sugars in the flour and producing carbon dioxide gas. This gas gets trapped in the dough, causing it to expand and rise.

Your bread dough will need to be left to rise until it has doubled in size during this first rise. The length of the rising time can vary depending the temperature of your kitchen. A warm environment will cause the dough to rise more quickly, while a cooler environment will slow down the rising process. In general, bread dough is left to rise until it has doubled in size, which can take anywhere from 1-2 hours.
Next, you will transfer the risen dough into the loaf pan where it will stay for the second rise.
The second rise allows for more fermentation but also the shaping of the loaf.
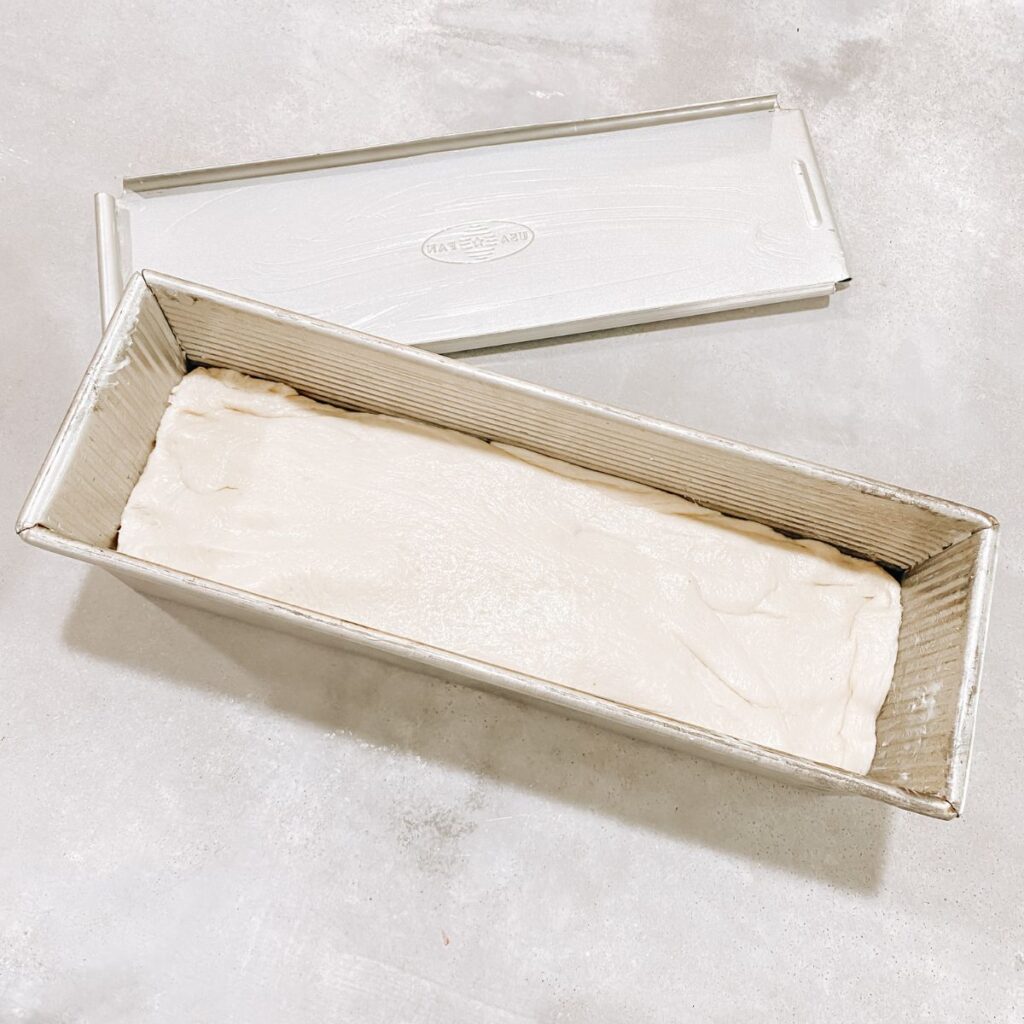
Keep in mind this recipe is created for a 13×4 sandwich loaf pan. If you want to use a regular 9×5 loaf pan then you will need to cut this recipe in half or use two separate loaf pans.
Baking Your Homemade Bread In The Oven
I am not sure that there is any smell better in the world than the aroma of baking bread wafting out of my kitchen and dancing through the house. I know that is a bit flowery and poetic but my goodness I really do love it so much.
The smell is just home to me. It is comfort, love, warmth, and together all wrapped up in a gorgeous little loaf of yumminess.
Now I am sure by now you may be tired of me saying that there is some variation in directions but bread is just a bit finicky that way. Like adding the flour and calculating the rise time the amount of time that your bread will need to bake can vary slightly based on the size and shape of your bread.
A general rule of thumb is 30-45 minutes.
If you are using smaller 9×5 loaf pans for this recipe then I would definitely recommend checking your bread at 30 minutes to see if it is done.
For the larger 13×4 loaf pan I will bake the bread with the lid on for 30 minutes, remove the lid, and allow it to finish baking and get that classic golden brown color for the remaining time.
The most reliable way to know if bread is done is to use a digital kitchen thermometer to check the internal temperature of the bread. A fully baked bread will have an internal temperature of about 200-205°F (93-96°C).
As strange as it sounds you can also check the sound of the bread. When the bread is done, it will make a hollow sound when tapped.
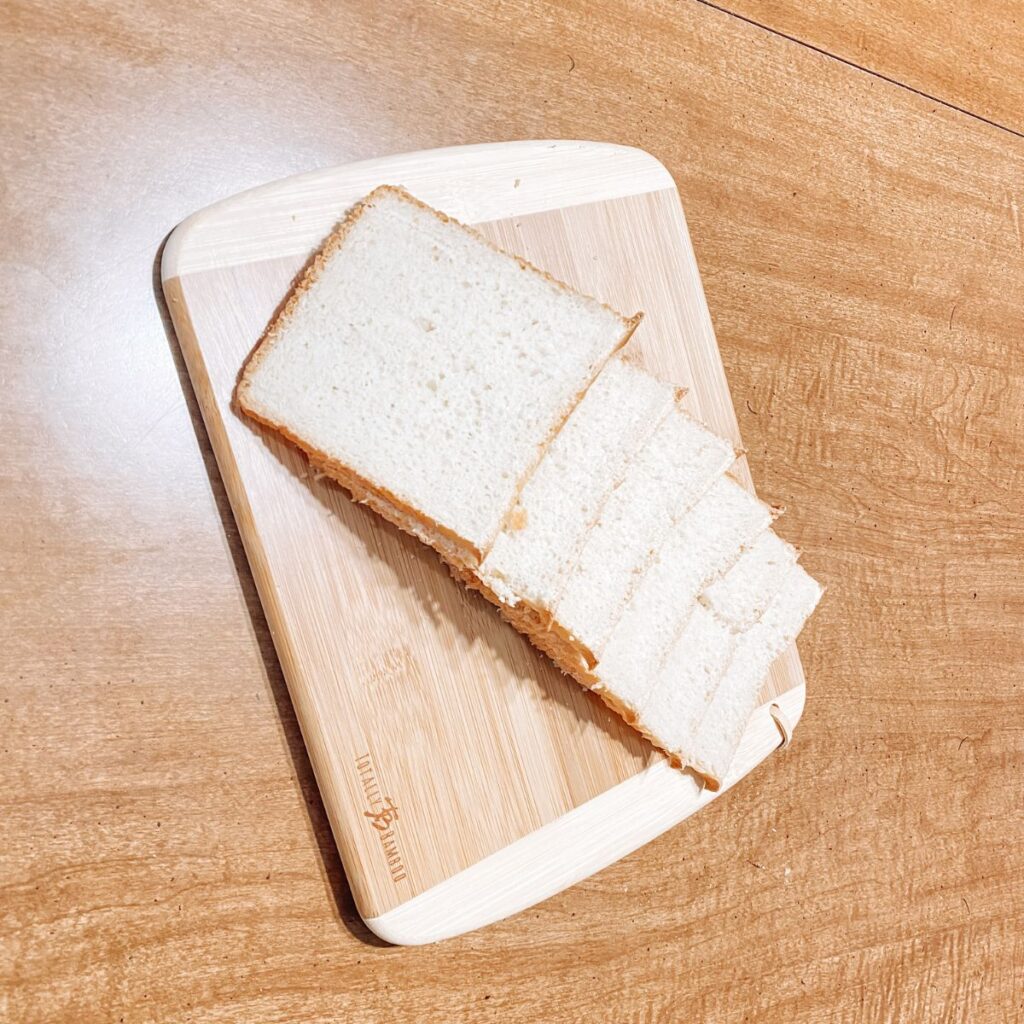
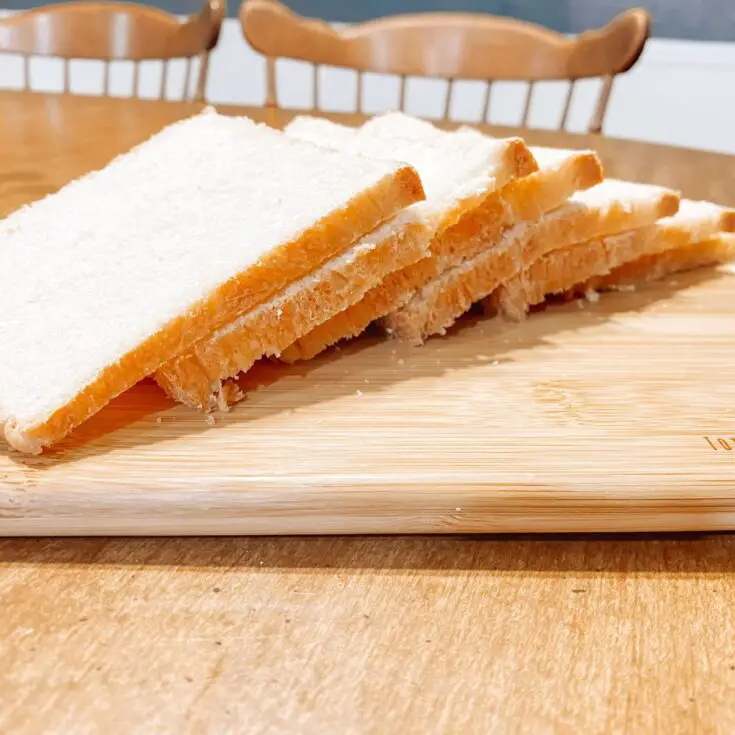
How To Slice Homemade Bread
Slicing your homemade bread does not have to be overly complicated or tricky. Using a bread knife or any serrated knife is best as it will saw through the crust without compromising the soft and fluffy interior.
One of the most important rules to slicing your bread is to allow it to cool completely before slicing. This allows the bread to set and the moisture to redistribute, resulting in a better texture and easier slicing. If you do not wait before slicing you can end up with bread slices that have a gummy texture.
Do your best to slice the bread as evenly as possible. This is going to take some practice and I’ll be the first to admit that I sometimes get in a hurry and end up with some slices that look a little wonky. Just be patient with yourself and remember that even silly looking slices will still taste amazing.
Enjoy Your Homemade Bread Made With Yeast And All Purpose Flour
All that is left to do is grab a slice and add some butter, jam, or make a sandwich.
Remember that making bread does not need to be complicated but it may still take a bit of practice.
Homemade Bread With Yeast And All Purpose Flour
A simple and delicious homemade bread that you will enjoy making again and again.
Ingredients
- 2 cups warm water
- 4 tablespoons active dry yeast
- 4 tablespoons sugar
- 1/2 cup olive oil (or any mild flavored oil)
- 2 teaspoons salt
- 5 1/2 - 6 1/2 cups all purpose flour
Instructions
- Combine warm water, yeast, and sugar in bowl. Allow to rest for 10 minutes so the yeast will fully activate.
- Add oil and salt the the bowl.
- While slowly mixing with the dough hook attachment on your stand mixer add the flour to the bowl in small batches until the dough has formed in to a ball that pulls away from the sides of the bowl. If the dough is still sticky add a little more flour until it is no longer sticky.
- Knead the dough on a low/medium speed using the dough hook for 3 minutes. Pull the dough away from the hook and knead again for 2 more minutes.
- Cover dough with a thin towel and allow to rise for and hour and a half to two hours or until the dough has doubled in size.
- Transfer dough to a greased 13x4 loaf pan (or two greased 9x4 loaf pans), cover with towel, and allow to rise for 20-30 minutes or until the dough has achieved the loaf shape that you desire.
- If you are using the 13x4 sandwich loaf pan with lid then place the lid onto the pan before baking in a 350 degree oven for 30 minutes. If you are using two 9x5 loaf pans then put them directly into a 350 degree oven for 30 minutes.
- After 30 minutes remove the lid from the sandwich loaf pan and return to the oven until the bread is cooked through.
- For either size loaf pan you want the bread to reach an internal temperature of 200-205 degrees before removing from the oven.
- Allow the bread to cool completely before slicing
Notes
Keep in mind this recipe is created for a 13x4 sandwich loaf pan. If you want to use a regular 9x5 loaf pan then you will need to cut this recipe in half or use two separate loaf pans.
It is important to allow the bread to cool completely before slicing. If you slice the bread while it is still warm it can result in a gummy texture.
Leave a Reply