
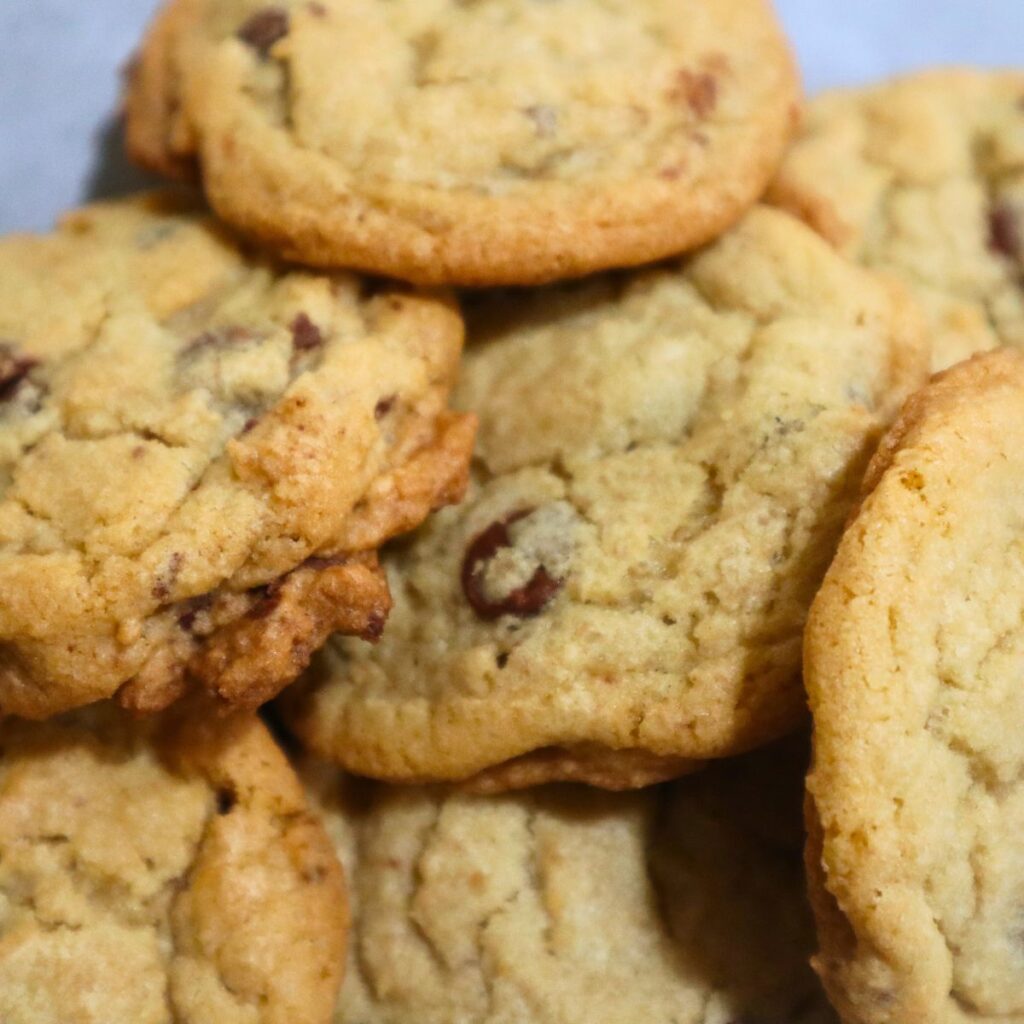
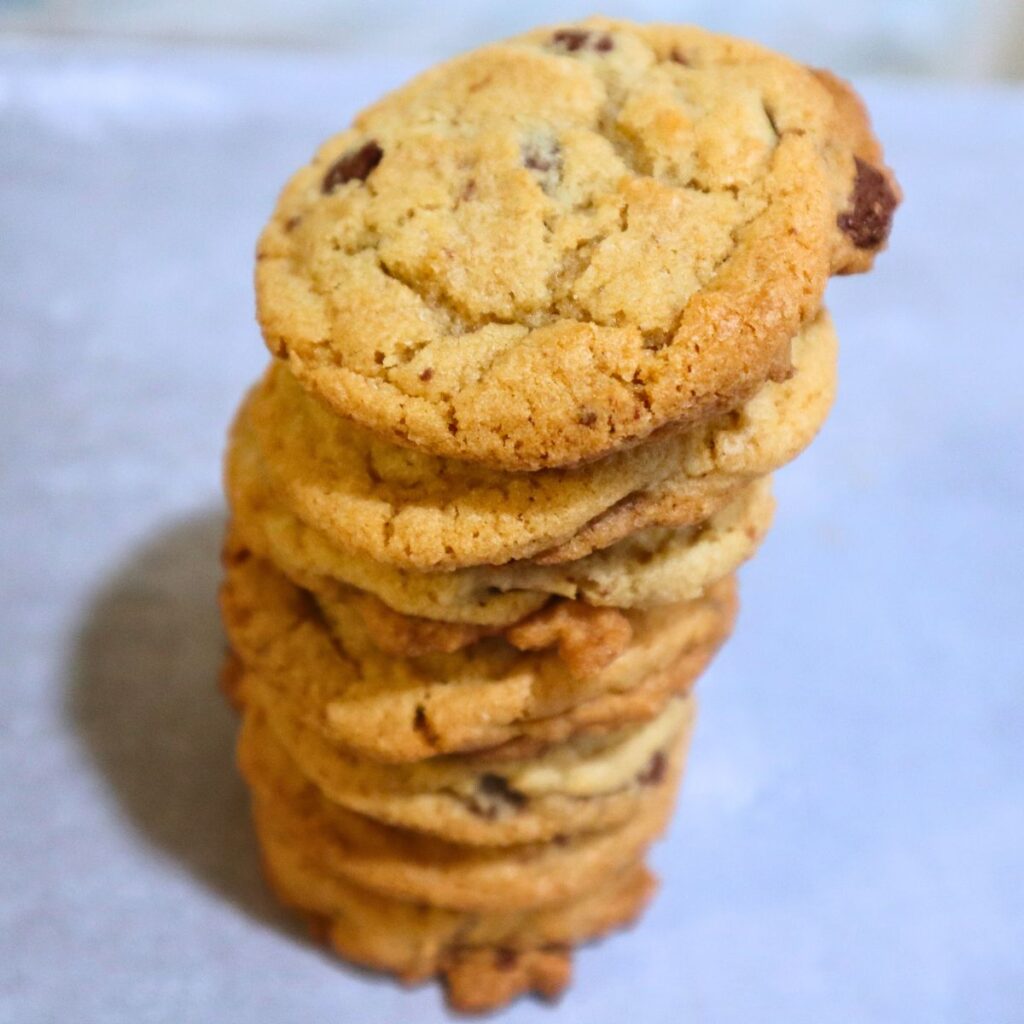
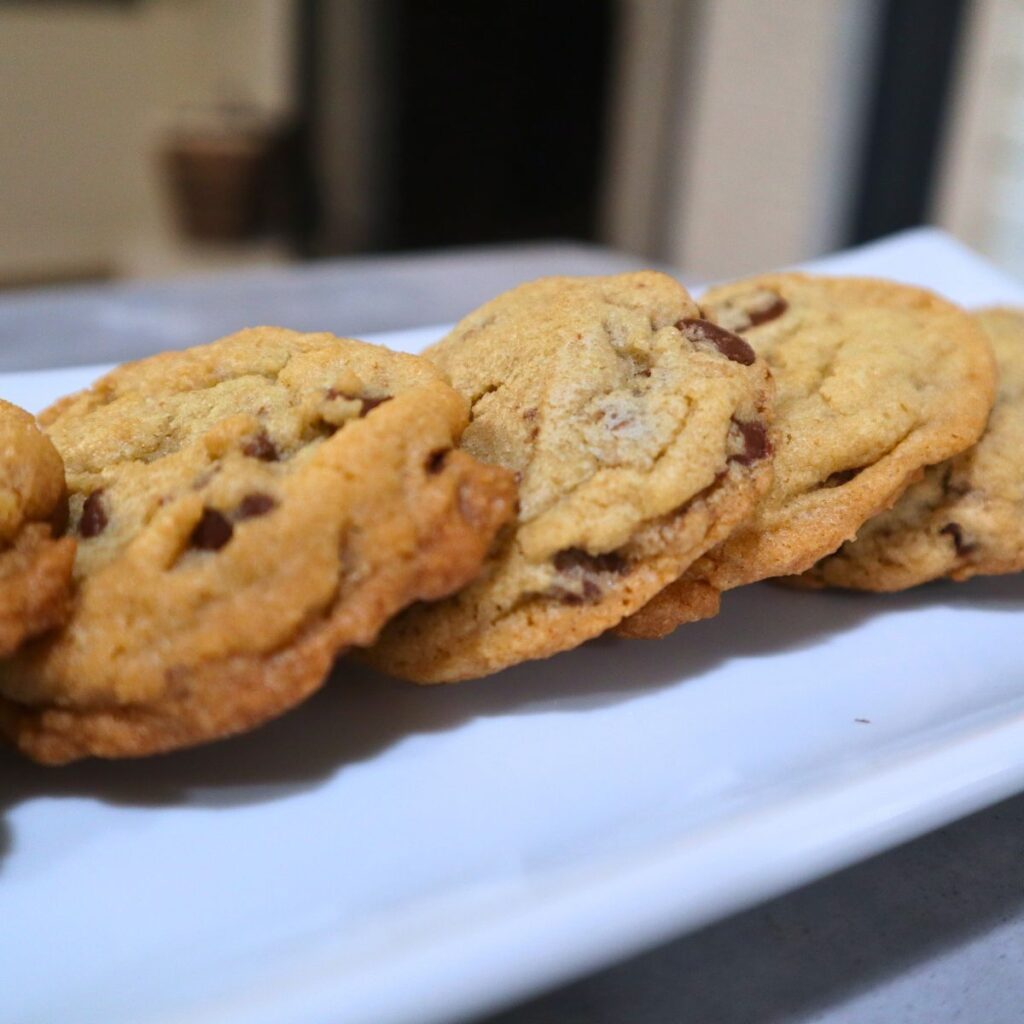
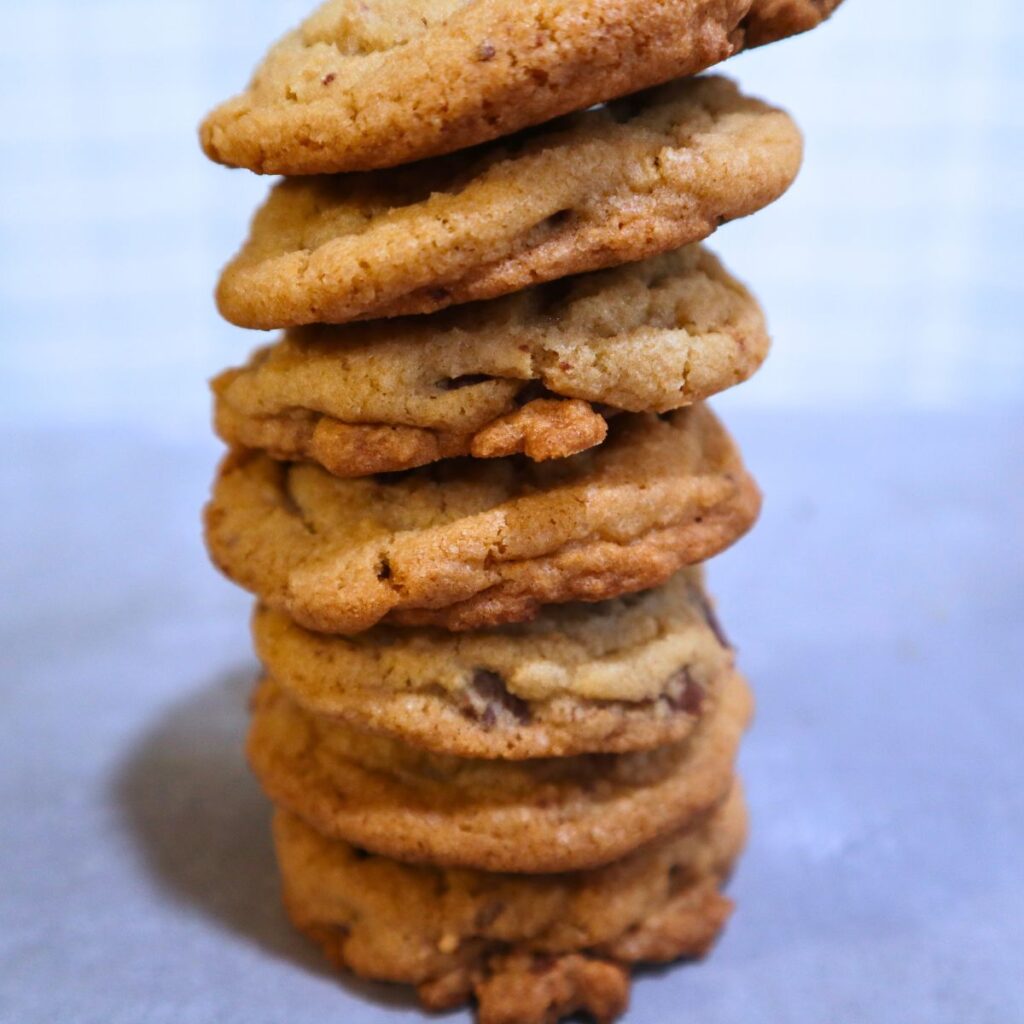
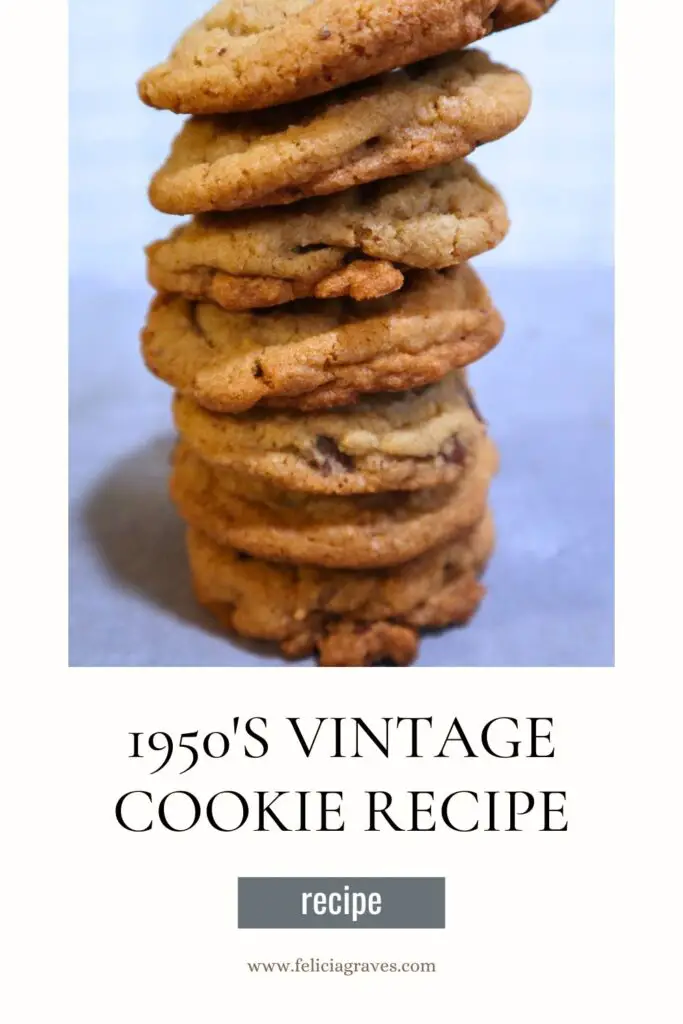
I grew up sitting on top of my grandmother’s kitchen counters learning to cook and bake. I am so fortunate to have a head and heart full of her vintage recipes some passed down from my great-great-grandmother! This original recipe of my grandmother’s makes the best chocolate chip cookies with the perfect texture. I know that you will enjoy my grandmother’s cookie recipe and I feel so honored to be able to share a batch of these delicious cookies with you.
Discloser Note:
This post may contain affiliate links, which means I make a small commission at no extra cost to you. See my full disclosure here.
The Best Chocolate Chip Cookie Recipe
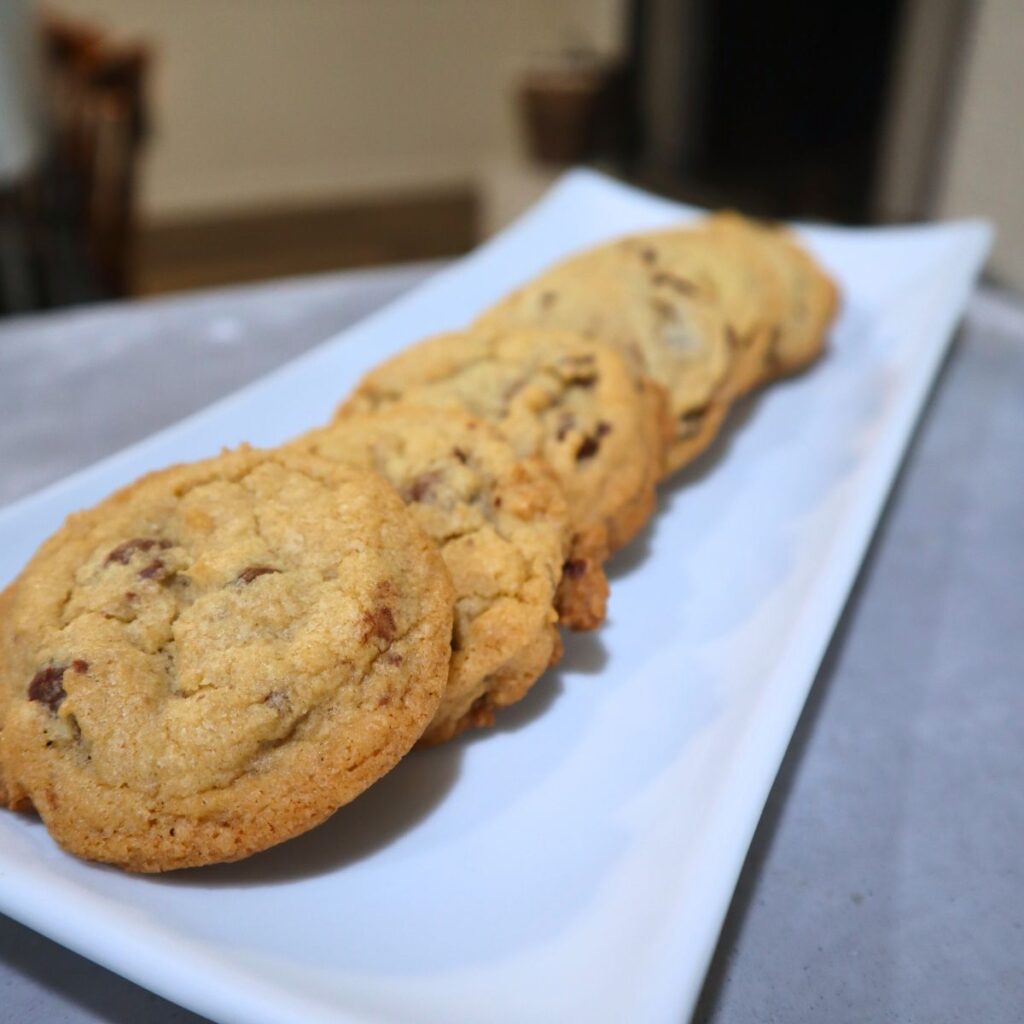
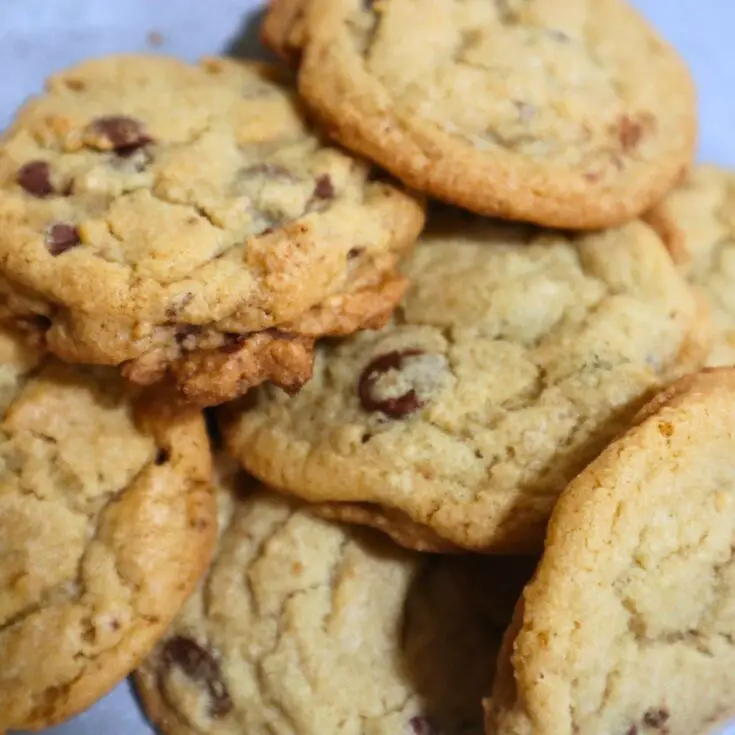
My homemade chocolate chip cookies have become the most popular cookie choice for every potluck, fundraiser, and bake sale that I have brought them too. Chocolate chip cookies might not be your first thought for special occasions but once you make your first batch I have no doubt that you will be making them over and over again for a long time to come.
In my experience there is just something special about the old recipes that have been passed down to me. Whether I am making an old-fashioned cookie recipe or another great recipe from my Nana, like chicken and dumplings, the response is always overwhelmingly positive.
Making A 1950s Chocolate Chip Cookie Recipe
Ingredients:
- 3 1/2 cups all-purpose flour
- 1 1/4 tsp baking soda
- 1 1/2 tsp baking powder
- 3/4 tsp salt
- 2 sticks of unsalted butter, softened
- 1 1/4 cups packed light brown sugar
- 1 1/8 cups granulated white sugar
- 2 large eggs
- 2 tsp vanilla extract
- 2 cups semi-sweet chocolate chips
Equipment:
- Stand mixer or Electric hand mixer
- Stainless steel cookie scoops (I use this set for tons of things in the kitchen)
- Baking sheets/Cookie sheets
- Silicone, food safe baking mat (I have used this set for almost 4 years now)
The Secret To The Best Cookies Ever
The very first thing that I like to do when I know I’m going to make this chocolate chip cookie recipe is set out my two sticks of butter to rest on the counter at room temperature for awhile. You do not want the butter melted but having it nice and softened makes everything cream together so beautifully.
I do not mean to wax poetically about butter but I have tried many other chocolate chip cookie recipes, some vintage cookie recipes and some more modern, and I am convinced that the amount, quality, and softness of the butter all make sure a dramatic impact on the final results.
The softened butter mixes with the all-purpose flour to form gluten. A harder butter means less gluten and softer the butter the more gluten. If you want to make super chewy cookies then you should use melted butter. This recipe with the room temperature butter allows for a great gluten formation that gives the perfect texture and amount of chewiness versus crispness.
Mixing Your Ingredients
Now that the butter has had a chance to soften up I am ready to start making the cookies.
First, I get a large bowl and whisk together my all-purpose flour, baking soda, baking powder, and salt. Set this bowl aside to be used shortly.
You may notice that this recipe calls for a bit more baking powder than baking soda. Many cookie recipes have a 1:1 ration for baking soda to baking powder. The little extra bit of baking powder in this 1950s chocolate chip cookie recipe gives a fine, tight crumb and a smooth top. The extra help with rising from the baking powder elevates the volume and lends nicely to the overall texture.
Now you are ready to use the bowl of your stand mixer. If you do not have a stand mixer then any large bowl and handheld electric mixer will work just as well. The stand mixer I use actually first belonged to my grandmother and so it just makes it even more special to recreate her recipes using the stand mixer that she loved. It’s a heavy duty Kitchen Aid that has really stood the test of time. I’ll be so devastated whenever it does finally give out on me, but hopefully that is not for a long time.
In the bowl of your stand mixer, using the paddle attachment (or in a large bowl, using an electric hand mixer) cream together the room temperature butte, brown sugar, and granulated sugar. You want to make sure these ingredients blend together well.
Add in the eggs, one at a time, mixing thoroughly after each addition. Once the eggs are fully mixed in add the vanilla extract and beat together until well incorporated.
The final step is to add in the flour mixture that you whisked together earlier. I recommend doing this a little bit at a time in small batches. That helps from over loading your machine but will also prevent you from accidentally creating a cloud of flour that goes raining down all over your kitchen. And in case you are wondering I am absolutely speaking from experience on this.
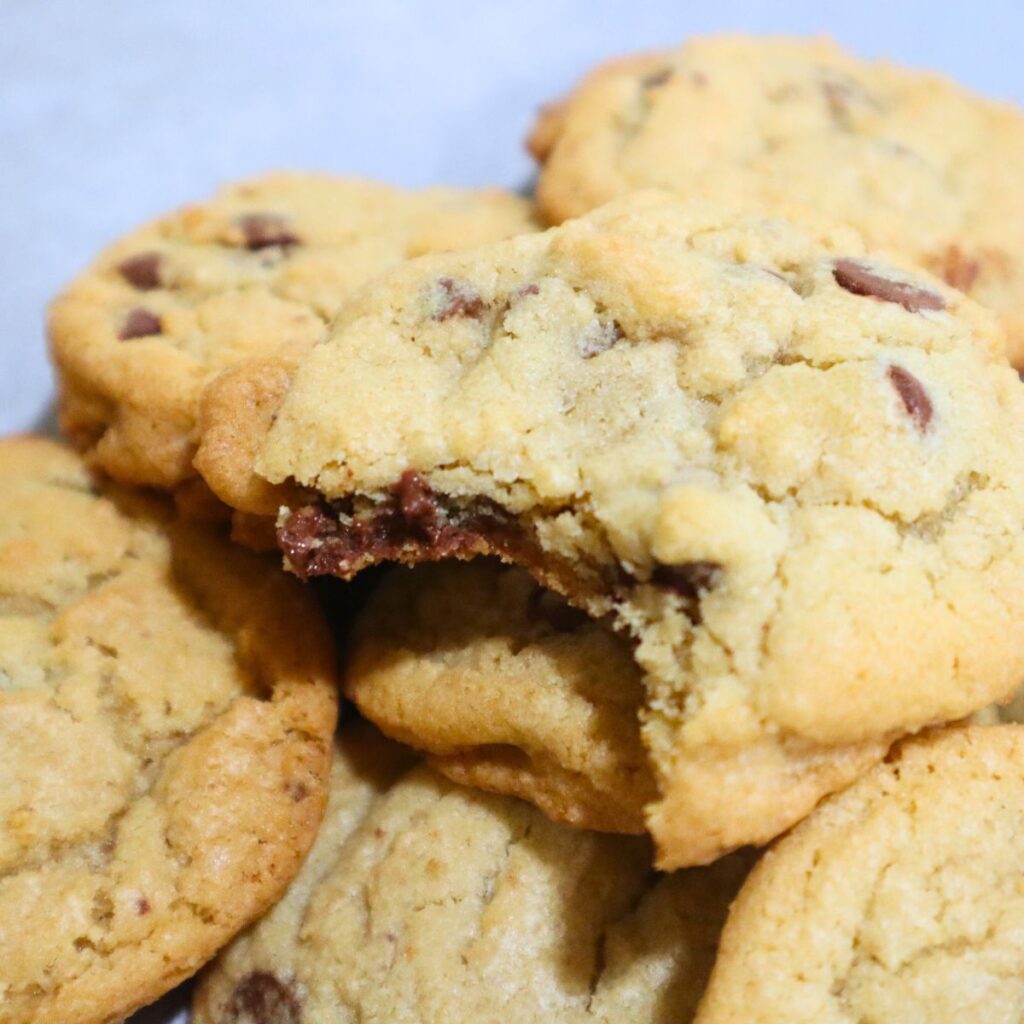
When the dry ingredients are mixed in add the semi-sweet chocolate chips by gently stirring them in until they are evenly distributed throughout the cookie dough.
Baking This Easy Recipe
Once you have mixed together the cookie dough you are ready to either bake the cookies now or freeze them to be baked later. This recipe makes approximately 36-48 cookies depending on the size of your cookie scoop so the flexibility to freeze some of the dough to be baked later in smaller batches is so handy.
To bake the cookies now start by preheating your oven to 350°F. Using your cookie scoop, or a measuring cup, drop the batter onto your baking sheet lined with a silicone baking mat. For the scoop I have a set of stainless steel scoops that I use for tons of things in my kitchen. The smallest of this scoop set is 1.6 inches or 4 centimeters and makes the perfect individual cookies.

My silicone baking mats are just very generic ones that I purchased from Amazon about 4 years ago. They have held up very well for me and do not show any signs of wear or tear. If you do not have similar baking mats you can also use parchment paper on your ungreased cookie sheets. The silicone baking mats or parchment paper does impact how the cookies bake. The cookies are able to bake more evenly by using the baking mat as well as they are less likely to crack or break when you are removing the cookies from the cookies sheets after baking.
Space the cookies out by about 2 or 3 inches apart when you are placing them on your baking mat. I find that I can easily fit 12 cookies on a standard size cookie sheet.
Bake the cookies in your preheated oven for 14 to 16 minutes.
For my oven I have found that the best way to achieve an even bake is by baking the cookies for 7 minutes, switching the top and bottom cookie sheets so the sheet that was on top is now on the bottom and visa vera, and then baking for another 7 minutes. I will say that before we moved when I had a different oven, and for all the years I made these before that, I did not have this issue of needing to swap the cookies sheets halfway through the baking. This is a new development that has only occurred with my current oven. If you find that your cookies are not baking evenly you may try using this trick as well.
When the cookies have finished baking remove the cookie sheets to from the oven and allow the cookies to cool on the cookie sheets for 2 to 3 minutes before transferring them to a wire rack. This little bit of time help the cookies to firm up and keep their shape for when you transfer them. Once on the wire rack allow the cookies to cool for around 5 minutes before indulging your sweet tooth.
Freezing Your Cookie Dough For Later
Making cookie dough for the freezer is a homemaking hack that I swear by. When you have delicious cookie dough balls ready to go straight into the oven it is such a game changer for your hosting and entertaining. I love to bring them out when we have friends stop by for a playdate, during the holiday season as a quick thank you gift, or even just on a random day when my husband or kids need a little pick me up and a warm freshly baked cookies are just the ticket.
Start keeping some ready to go cookies in your freezer and you can thank me later.
To make prepare the cookie dough for the freezer start by making your cookie dough balls the same way you would if you were going to bake them. You can line them up on a baking sheet lined with a baking mat or parchment paper but because my baking sheets do not fit into my freezer I will typically lay out a single layer of cookie dough balls onto a dinner plate.
It is okay to have the cookie dough balls close together but you do not want them to be touching. Freeze the cookie dough for about an hour or until the cookie dough is solid. Now you can take the cookie dough balls out of the freezer and transfer them from the plate or cookie sheet and into a gallon-size freezer bag for easier storage. Be sure to remove as much air from the bag as possible to prevent freezer burn.
Baking The Cookie Dough From Frozen
When you are ready to bake the frozen cookie dough place however many cookie dough balls you’d like to make on a baking sheet lined with a silicone baking mat or parchment paper. Be sure to leave 2 to 3 inches of space apart between each ball of dough.
Allow the cookie dough to thaw for about 5 minutes while your oven heats up to 350°.
Bake the cookie dough for 14-16 minutes until the edges of the cookies turn a beautiful golden brown.
When the cookies have finished baking remove them from the oven and allow the cookies to cool on the baking sheet for 2 to 3 minutes before transferring them to a wire rack. This little bit of time help the cookies to firm up and keep their shape for when you transfer them. Once on the wire rack allow the cookies to cool for around 5 minutes before serving.
The Original Chocolate Chip Cookie Recipe
Before starting to write this post on my grandmother’s cookie recipe I was a little curious about chocolate chip cookies in general. The chocolate chip cookie seems like such a traditional cookie that has always existed. A quick google search took me to a page that detailed the history of the chocolate chip cookie that is an interesting read if you are also curious.
From their post, “The original recipe was created in the late 1930s by Ruth Wakefield who famously ran the Toll House restaurant in Whitman, Massachusetts. The delicious mix of crispy cookie and melted chocolate chunks first appeared in her 1938 cookbook “Tried and True,” and was intended to accompany ice cream.”
According to the post the recipe created by Ruth Wakefield is the same one that can still be found on packages of Nestle chocolate chips today. Comparing that recipe with the one from my grandmother I can see how Ruth’s original recipe, written about 20-30 years before my grandmother’s, was the inspiration for the recipe I’m sharing with you today.
1950s Chocolate Chip Cookie Recipe
This original recipe of my grandmother's makes the best chocolate chip cookies with the perfect texture. I know that you will enjoy my grandmother's cookie recipe and I feel so honored to be able to share a batch of these delicious cookies with you.
Ingredients
- 3 1/2 cups all-purpose flour
- 1 1/4 tsp baking soda
- 1 1/2 tsp baking powder
- 3/4 tsp salt
- 2 sticks of unsalted butter, softened
- 1 1/4 cups packed light brown sugar
- 1 1/8 cups granulated white sugar
- 2 large eggs
- 2 tsp vanilla extract
- 2 cups semi-sweet chocolate chips
Instructions
- In a large bowl and whisk together my all-purpose flour, baking soda, baking powder, and salt. Set this bowl aside to be used shortly.
- In the bowl of your stand mixer, using the paddle attachment (or in a large bowl, using an electric hand mixer) cream together the room temperature butte, brown sugar, and granulated sugar.
- Add in the eggs, one at a time, mixing thoroughly after each addition. Once the eggs are fully mixed in add the vanilla extract and beat together until well incorporated.
- The final step is to add in the flour mixture that you whisked together earlier. I recommend doing this a little bit at a time in small batches
- When the dry ingredients are mixed in add the semi-sweet chocolate chips by gently stirring them in until they are evenly distributed throughout the cookie dough.
- Using your cookie scoop, or a measuring cup, drop the batter onto your baking sheet lined with a silicone baking mat.
- Space the cookies out by about 2 or 3 inches apart when you are placing them on your baking mat.
- Bake cookies at 350° for 14-16 minutes
- When the cookies have finished baking remove the cookie sheets to from the oven and allow the cookies to cool on the cookie sheets for 2 to 3 minutes before transferring them to a wire rack. This little bit of time help the cookies to firm up and keep their shape for when you transfer them. Once on the wire rack allow the cookies to cool for around 5 minutes before indulging your sweet tooth.
For The Freezer:
- To make prepare the cookie dough for the freezer start by making your cookie dough balls the same way you would if you were going to bake them. Lay them out on a baking sheet or plate.
- It is okay to have the cookie dough balls close together but you do not want them to be touching. Freeze the cookie dough for about an hour or until the cookie dough is solid. Now you can take the cookie dough balls out of the freezer and transfer them from the plate or cookie sheet and into a gallon-size freezer bag for easier storage.
- When you are ready to bake the frozen cookie dough place however many cookie dough balls you'd like to make on a baking sheet lined with a silicone baking mat or parchment paper. Be sure to leave 2 to 3 inches of space apart between each ball of dough.
- Allow the cookie dough to thaw for about 5 minutes while your oven heats up to 350°.
- Bake the cookie dough for 14-16 minutes until the edges of the cookies turn a beautiful golden brown.
- When the cookies have finished baking remove them from the oven and allow the cookies to cool on the baking sheet for 2 to 3 minutes before transferring them to a wire rack. This little bit of time help the cookies to firm up and keep their shape for when you transfer them. Once on the wire rack allow the cookies to cool for around 5 minutes before serving.
Notes
Depending on your oven you may need to bake the cookies for 7 minutes, move the top cookie sheet to the bottom rack and the bottom cookie sheet to the top rack, and continue baking for 7 minutes.
Leave a Reply